For years now, I have been seeing articles and videos making the rounds on the terracotta pot heaters. Some people call them a flower pot heater, or just a clay pot heater. Whatever the name, these are basically a DIY space heater for warming up a small room.
I never looked at them too seriously because, well, I was a bit dubious even though I know a candle can warm up a small room. But recently, the idea of these heaters came up yet again and I thought, “You know what, I’m going to finally make one of these!”
While everyone’s setup – as well as the candles used – may be slightly different than what I use, the principle is the same. I have seen these heaters use all sorts of different sized candles, but a lot of people swear by tea candles. Since a tea candle is so small and cheap, I thought I would use those for my testing.
So, after years of seeing these being made, I finally made one myself.
This article will detail:
- What you need to make clay and candle heaters
- How to set it up
- My results and thoughts on the experiment
- Hazards, pros, and cons of this method
DIY Terracotta Pot Heaters
What You Will Need
I will be discussing three different ways to make clay pot heaters, and one of them requires some hardware. You can use smaller or larger clay pots than what I use, but keep in mind that the results may vary and you will probably need different sized hardware.
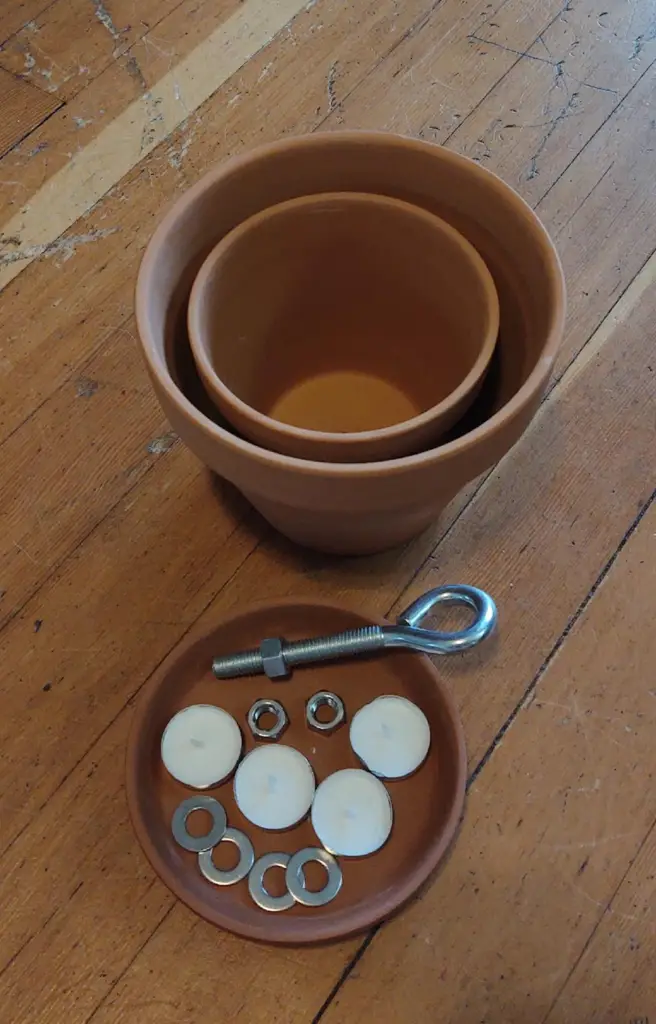
Here is what you will need:
- One 8″ clay pot
- One 6″ clay pot
- One 1/2″ by 6″ eye bolt
- Three 1/2″ nuts
- Four 1/2″ washers
- Four tea candles
- One of the pot bases or a solid, fire-proof base
- Two to four bricks (This provides support for the pots. I have also seen people use muffin tins which is a great idea I want to try!)
Safety Note
Having a fire indoors is inherently dangerous, so to avoid house fires, it is important to be ready with some safety equipment.
Before testing the flower pot heater, I made sure my fire extinguisher was full and set it in the room with me.
I also suggest having a pair of thick, heat resistant gloves handy in case you need to move the clay pots after they are heated. (I just used my oven mitts.)
Assembling The Terracotta Pot Heater
Below is a video of me showing you how to assemble the clay pot candle heater. Below the video are written instructions and pictures for assembling.
Step One
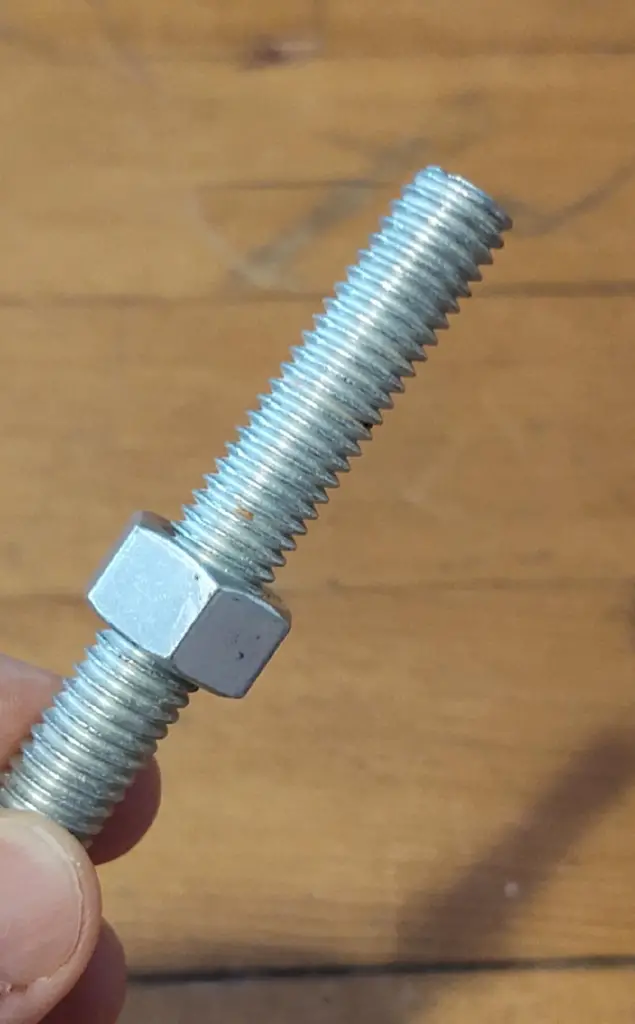
Thread a nut onto the eyebolt. I put the nut about one inch above the eye.
Step Two
Place a washer on top of the nut.
Step three
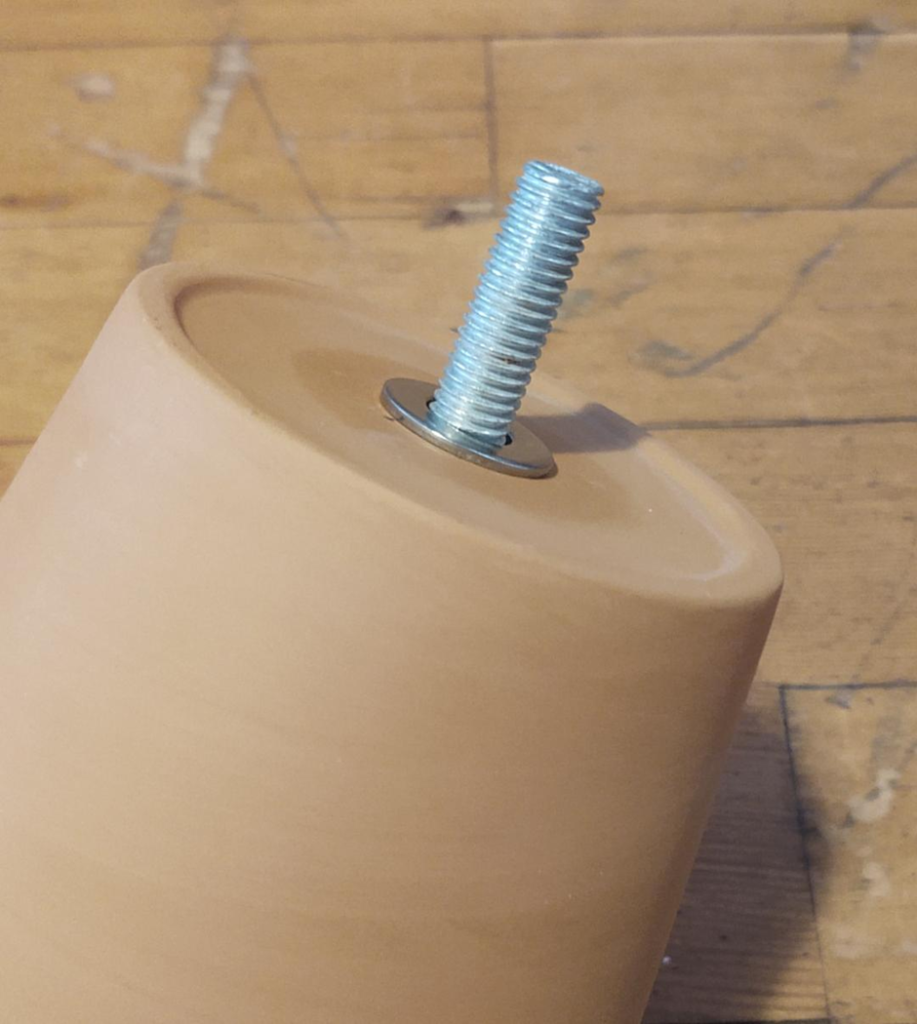
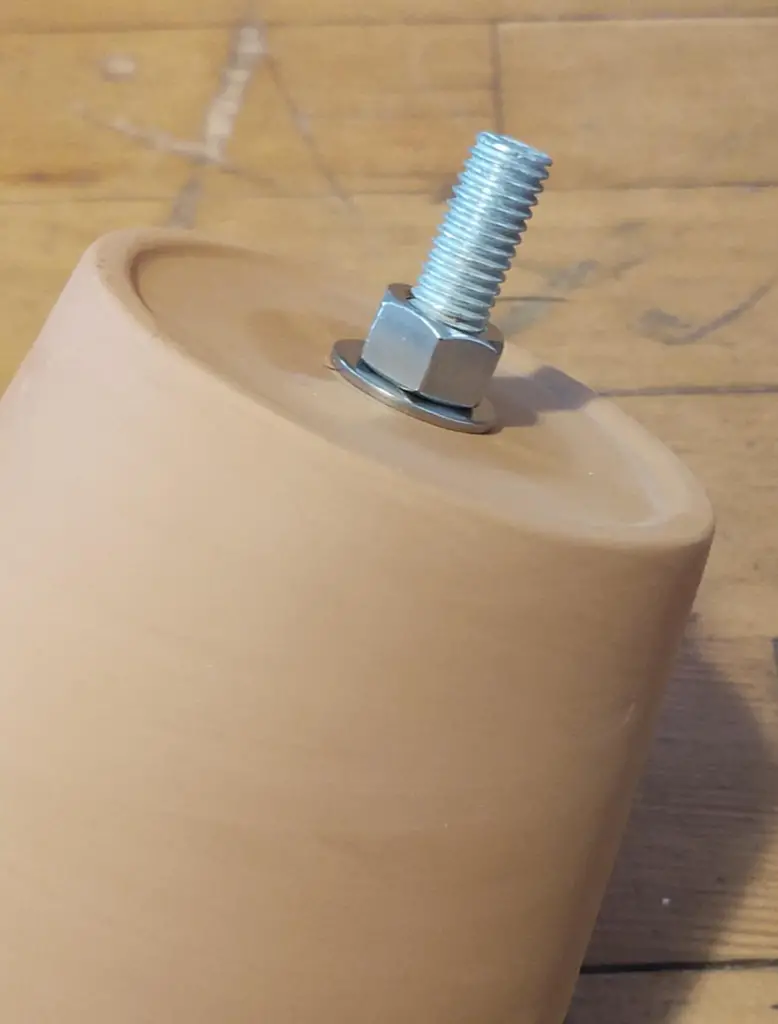
Invert the six inch pot so that it is upside down. Now, place the threaded end of the eyebolt through the hole on the bottom of the pot from the inside.
Step Four
Put a washer on the eyebolt so that it is flush with the pot.
Step Five
Thread a nut onto the eyebolt so that it is flush with the washer. Do not tighten the nut, only make it snug, If you try to tighten it too much, the clay pot could crack or break.
Step Six
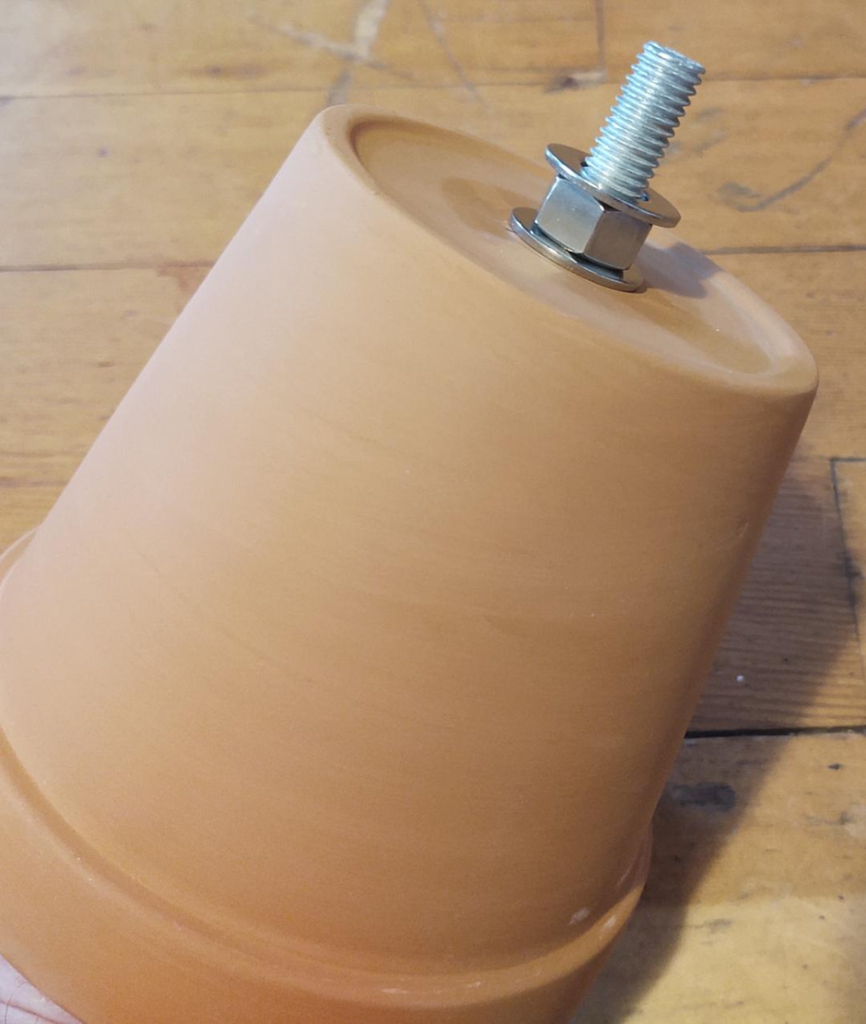
Put on another washer so that it is flush with the nut.
Step Seven
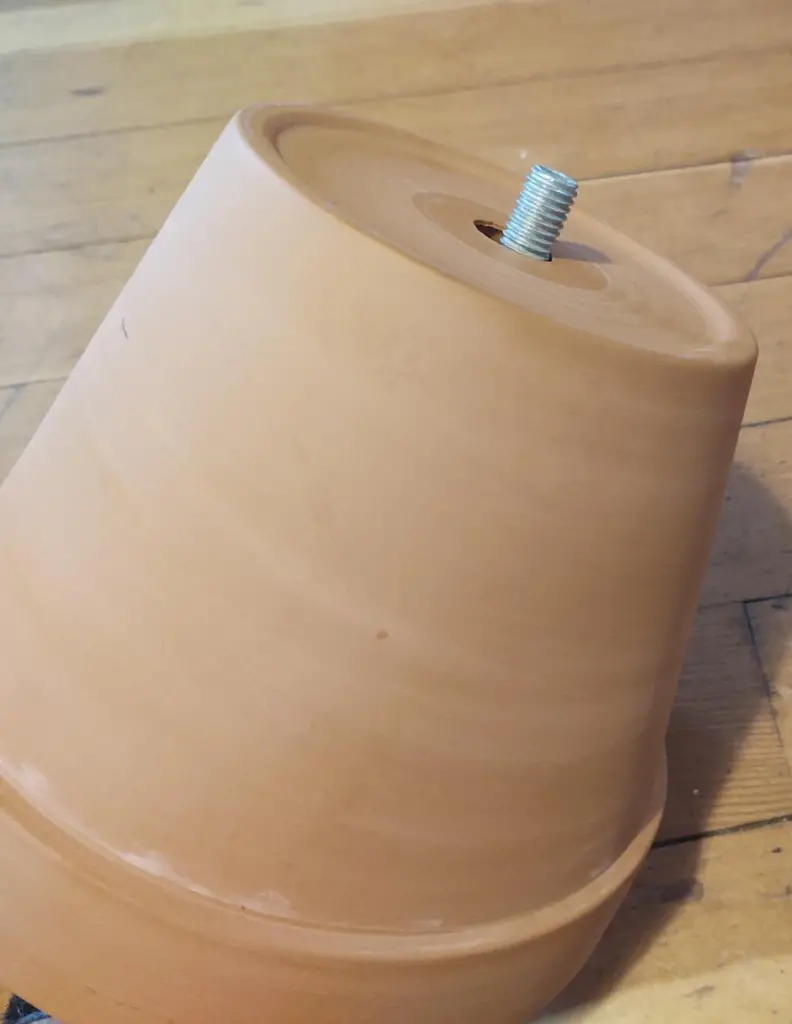
With the six inch pot still inverted, invert the eight inch clay pot and place it over the six inch pot so that the threaded end of the eyebolt goes through the bottom hole of the eight inch pot.
Step Eight
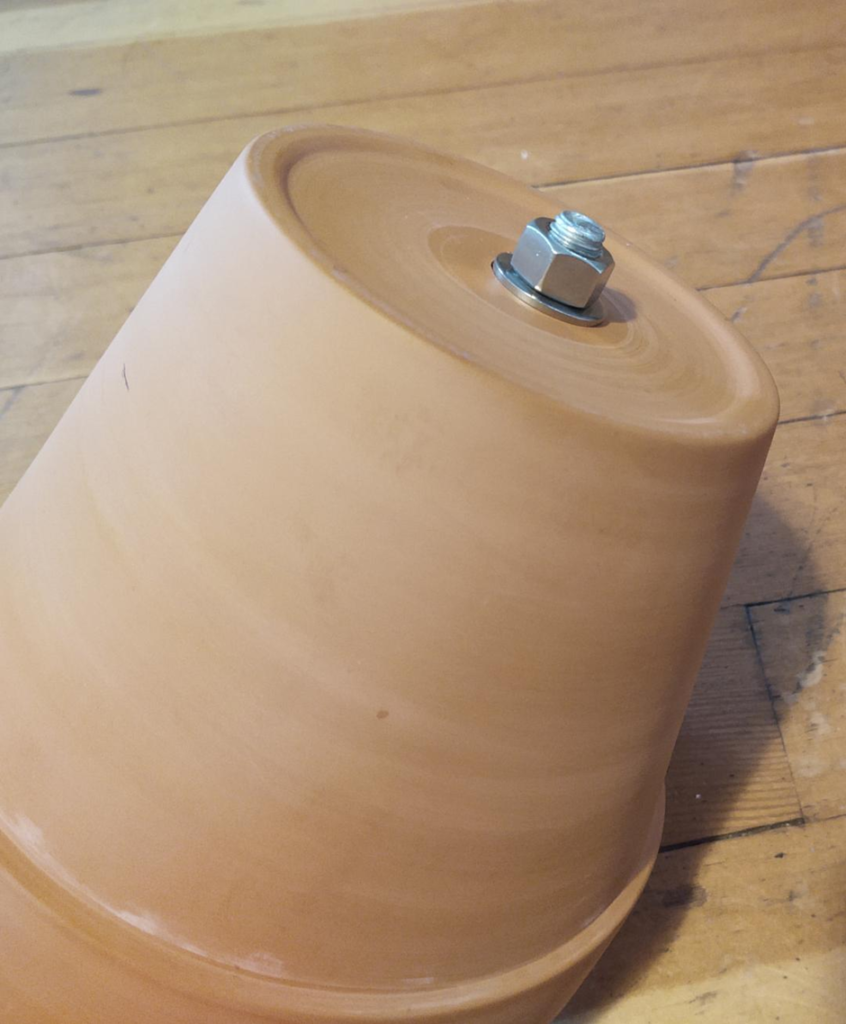
Place the last washer on the center bolt so it is flush with the bottom of the eight inch pot and finish off with the last nut. Again, do not overtighten the nut.
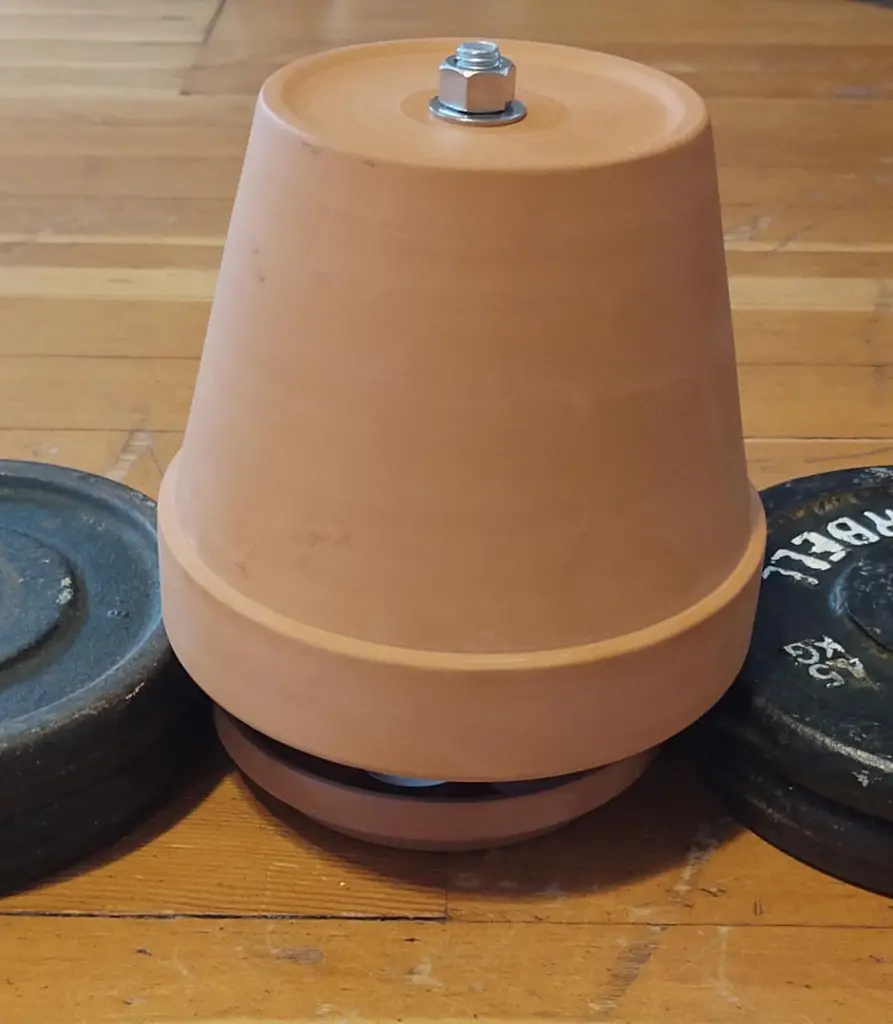
The improvised space heater is now down and can be setup on it’s supports. Some people use bricks, which would work well, but all I had was some weights.
Here is a top view of the completed candle heater:
Here is a side view of the clay pot space heater during the test.
Results
I ran this test in June (summer) with the air conditioner turned off. I situated the clay pot heater on my coffee table in my living room because I thought that would probably be a common location for most people to place a heater.
I started this test and ended it after two hours. Below is a table of my results for the first hour at five minute intervals. I then allowed the test to continue for another hour and took my final readings at the two hour mark. To obtain the temperatures, I used a Klein Tool IR Thermometer.
All of the temperature readings are in Fahrenheit.
| Time | Side of Pot | Top of Pot | Top of Bolt |
|---|---|---|---|
| Initial Temp | 75 | 75 | 77 |
| 5 min | 86 | 90 | 90 |
| 10 min | 100 | 110 | 117 |
| 15 min | 111 | 120 | 129 |
| 20 min | 120 | 126 | 144 |
| 25 min | 127 | 150 | 153 |
| 30 min | 130 | 140 | 155 |
| 35 min | 134 | 146 | 170 |
| 40 min | 140 | 158 | 171 |
| 45 min | 142 | 160 | 173 |
| 50 min | 142 | 166 | 173 |
| 55 min | 146 | 167 | 175 |
| 60 min | 146 | 167 | 175 |
| 2 hr. | 148 | 167 | 176 |
Results from heater with hardware
At two hours, the interior of the six inch pot was 258 degrees Fahrenheit , and the interior bolt was 252 degrees Fahrenheit .
At two hours, the table top under the base plate was 120 degrees Fahrenheit and the bottom of the base plate was 130 Fahrenheit.
My Observations
My living room is a rather small room, but it’s also an open floor plan. At first, I didn’t notice a large change in temperature, but then I left the room for a bit and came back in. I did notice a slight increase in temperature when I came back in.
While the temperatures on the surface of the pot were impressive, I don’t think I could rely on just one of these to warm up my living room during cold weather, but I could see several of them doing the job.
As you can see from the table, the top of the pot and the metal bolt became too hot to touch, but the side of the pot didn’t. I was happy to see this result because it means I could sit close to the terracotta heater for the radiant heat and at the same time place my hands on the side of the pot as a hand warmer.
I did take temperature readings of the base plate throughout the test to make sure it wasn’t getting too hot on my coffee table. The plate didn’t get as hot as the top of the pot, but it did get hotter than the side of the clay pot.
If you are placing the clay pot heater directly on a surface as I did, it may be a good idea to have a thicker, more heat resistant base, just to be safe.
After I was done testing, I flipped the clay pots over and took an internal temperature reading. The inside of the pots and the metal bolt were over 250 degrees. So, do not try and touch any of the interior until the clay pots cool down, which took about 25 to 30 min.
I mentioned earlier that I saw someone use a muffin tin to place the candles in and use as a support for the pots. This looks like it would be much easier to setup and move, and I would like to try that out soon.
Lastly, please make sure you don’t leave this article without reading the warning section toward the end. It has some very important safety precautions you need to know when using a clay pot heater.
Assembling The Terracotta Pot Heater (Without Hardware)
I wanted to try this method out as I have seen it used quite a bit as well, and some people claim this clay pot setup works better. It’s supposed to promote air circulation within the pots and therefore warm the surrounding area up better.
Air circulation should occur because the holes on the bottom of the terracotta pots are not covered by the metal hardware. As the hot air rises through the holes, cold air will be brought in from the bottom, heated, and the process repeats.
Since this clay pot heater doesn’t use any hardware, putting it together is much simpler.
Below is a short video of showing you how this heater works. Below the video I will have written instructions for the clay pot setup.
Step One
Position the tea candles at equal distances from one another so that the rim of the inverted clay pot (six inch) can rest on the edge of the tea candle container. Once this is set up, lift up the six inch pot, light all four candles, and replace the pot.
Step Two
Set up two bricks, or whatever supports you have, on either side of the six inch pot.
Step Three
Invert the eight inch pot and place it over the six inch pot so that it is resting on the supports.
Results
I recorded temperatures every 5 minutes for 30 minutes. I then let the heater go for another 30 minutes before taking a final reading.
| Time | Side of Pot | Top of Pot |
|---|---|---|
| Initial | 76 | 76 |
| 5 min | 84 | 107 |
| 10 min | 95 | 126 |
| 15 min | 106 | 151 |
| 20 min | 116 | 157 |
| 25 min | 118 | 60 |
| 30 min | 119 | 161 |
| 60 min | 120 | 163 |
Results Without Hardware
At the end of one hour, the temperature inside the six inch terracotta pot was 217 degrees Fahrenheit.
My Observations
I the first thing I noticed when testing this method was that the terracotta pots heated up much faster. I think the heat transfer from the inner pot to the outer pot was quicker because it wasn’t being contained within the smaller pot.
I placed my hand over the top hole of the eight inch pot and I could actually feel the hot air blowing out. This is something to keep in mind when picking a location for this clay pot heater: make sure it has plenty of overhead space.
From the beginning, I didn’t like the idea of using the tea light candles as supports for the clay pot. While I didn’t have any problems with this during the testing, I did after I blew out the candles. I was removing the large pot and fumbled it, causing it to rock the small pot below. In turn, the smaller pot shifted it’s position on the candles and tipped two of them over. This caused hot liquid wax to spill.
Ideally, I should have waited until everything had cooled down before attempting to move pots, but this does highlight the potential for the candles to tip over.
Third Terracotta Pot Heater Option
The third way I have seen to build one of these flower pot heaters, is almost exactly like the first method in this article. The different is that a longer eyebolt is used so that is can reach down and go through the bottom base plate.
Also, in this design the eyebolt is inverted so that the eye is sticking out above the heater. This makes moving the whole setup much easier and it gives you the ability to hang it.
Different Pots, Different Fuel
For my terracotta pot heater, I used an eight inch pot, six inch pot, half inch hardware, and tealight candles. Do you have to use the exact same size pots and four tealight candles?
Of course not.
Terracotta pots come in smaller and larger sizes than what I used. Pick the size pots you want based on budget, available space, and how much area you want to effectively heat. No matter the size you choose, the consensus seems to be that the pots should be unglazed.
There are different fuel options as well. I used tea candles because they are small and very affordable. I believe the ones I used were around 2 cents a piece, and they lasted for four hours. Eight cents to run a heat source for four hours is pretty darn cheap. But you can use whatever size candles you want, such as votive candles, as long as they fit within the space of the pot.
Alternative forms of fuel include Sterno burners. I have seen people use these in place of a candle. These will put out more heat than a typical candle, which is good and bad. It all depends on how much control you want over being able to regulate the temperature. Also, these canisters are going to increase the cost quite a bit. Having said that, it may not be a bad idea to have a few of them on hand, just in case.
I have also seen designs that use only one pot instead of two pots. I don’t think it would matter too much using one pot in the method that doesn’t use hardware because a lot of the heat is already escaping through the top.
However, I would probably stick with two pots for the method that uses hardware because the outer pot can be used as a hand warmer and the heating system will retain the hot air, which means it will radiate heat longer.
Lastly, in the setup that I created, I could use a single candle or four candles. The number of candles that are used just depends on how much heat you want to produce and how many can safely fit inside. That’s one reason I like the tea candles because you can easily remove or add candles to regulate the temperature.
Pros and Cons of Terracotta Pot Heaters
Pros
- Very affordable
- Variety of fuel sources
- Produces enough heat for a small room
- Can be used as a hand warmer
- Easy to transport
- Easy to make
- Different pot sizes can be used
Cons
- Should not be left unattended
- Can be extremely dangerous
- The terracotta pot is fragile
Warnings
Before you run out and start buying flower pots to make this type of heat source, there are some safety hazards you should know about.
While I did have the tea candles on the base of the clay pot, the top of my coffee table did get pretty warm. Probably not a concern for fire, but if I use this again I will probably put down another layer of protection.
As the case is with any heat source or fire, you should not allow this heater to burn unattended or while you are sleeping.
Just like space heaters, you need to be careful when using them in a very tight space, as it could heat up, melt, or burn objects nearby.
Okay, now for the main hazard of this heat source. As mentioned earlier, the temperatures inside the pot that used hardware got over 250 degrees. This is hot enough to melt all the paraffin wax. When this happens, there is a potential for not just the wick to be on fire but the liquid wax as well. This will create larger flames, more heat, and – if the wax were to begin spilling from its container – you could have a large fire on your hands.
This is another reason why you don’t want to use too many candles. I probably had space on the clay base to add two or three more candles. This may sound like a good idea because more heat would be produced, but the closer the candles are to one another, the more likely the candle flame will ignite the wax. Also, there will be more wax, which means more fuel to the fire and a bigger problem.
Final Thoughts
I’m glad that I finally made a terracotta heater, because I was pleasantly surprised by my results. I have used tea lights in the past for small spaces, and while it didn’t make me feel toasty warm, the heat output from the candle flame did make a difference. However, I didn’t think the interior of the six inch pot would get as hot as it did.
In my current situation, I don’t think one of these heaters would work as a space heater for warming up my entire living room, but several of them might. I do feel that one of these would warm an entire room that was a small space and more closed off, like a bedroom.
I think both designs have their merits, and which one you choose will depend on how you want to use it.
At some point I probably will try different sized candles, or even a Sterno can, but I like the tea lights because the candle burns pretty evenly and for a few hours. Also, they are super cheap! I would also like to try out the muffin tin as a base because that seems like an ingenious method.
After my testing, I’ve concluded that these do make effective little space heaters, especially if an individual or a few people are huddled around it. If you live in an area that can experience a winter power outage, or even cool temperatures, having the supplies to make one or several of these wouldn’t be a bad idea.
And the nice thing is that the supplies to make the heater of the dimensions in this article only cost me around $30. That’s affordable enough that you could make one for you home and put one in your emergency shelter. In fact, I plan on making a few more of these, just in case.
Thanks for reading and stay warm!


