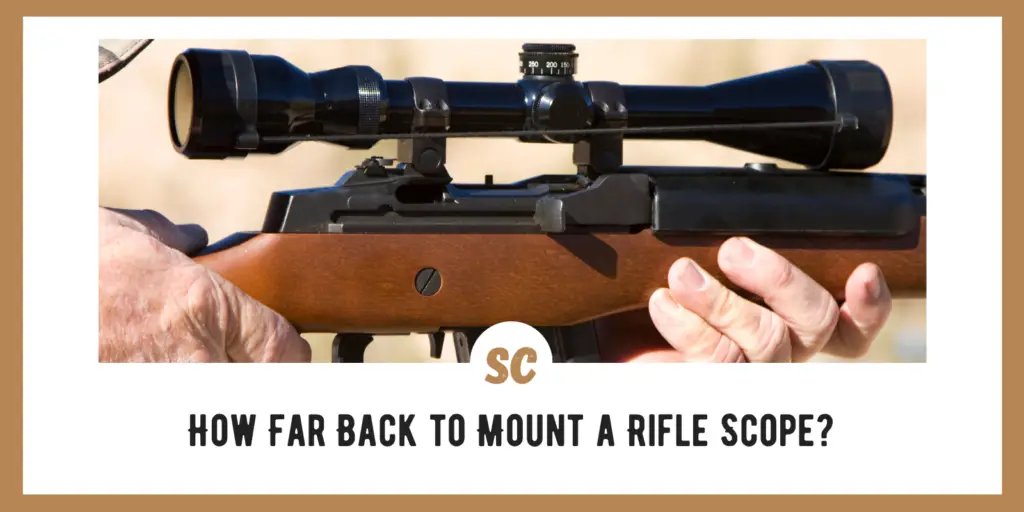
Mounting riflescopes is as much of an art as it is a science. Finding that perfect spot on your rifle for your riflescope is part trial and error and part based on scope function and features. The question is always on the mind of shooters. How far back do I mount my riflescope?
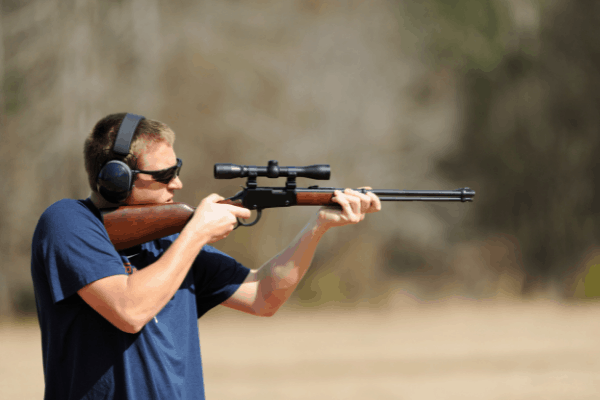
Several factors determine the best position to mount a riflescope. More than any is the question of eye relief and how it relates to your normal shooting position on the rifle. Mounting the riflescope so that you are shouldering your rifle to its normal position gives you the full image in your riflescope with no black rings on the edges.
Understanding eye relief and how it relates to scope position is critical. In addition, how you position the rifle for a shot is important. Positioning yourself on the rifle in the field is often far different than the position you take at a bench rest of with the rifle on a stand. Which is more critical? For me, that quick response when a target presents itself is a far more critical time than at the range using a bench or a rifle cradle.
Eye Relief – The Critical Distance
To properly mount a riflescope requires an understanding of eye relief. In short, eye relief is the distance from the lens of your eye to the lens of your riflescope that provides the best optical image to your eye. As part of the scope technical data, most optical scope manufacturers list the distance range as eye relief.
Why is Eye Relief So Critical?
Almost every optical riflescope has a small range of distances at which the shooter’s eye sees the best possible image of the target. The riflescope mounting must put the shooter’s eye in this critical distance when the shooter shoulders the rifle.
Typically, the distance is measured in inches or millimeters and ranges from three to four inches for most traditional optical riflescopes. If the shooter’s eye doesn’t fall within these distance parameters, several things may occur.
- The shooter may see a dark ring or halo around the outside edge of the image.
- Distortion of the target image may occur, making it difficult to aim the rifle accurately.
- Reticle images may appear irregular or off-center, creating difficulties in placing the crosshairs on the target.
If you experience any of these symptoms, chances are your riflescope is out of position on your rifle. You probably need to reposition your riflescope for your shooting position and style.
How Much is Enough?
Riflescopes are available with a relatively wide range of eye relief. Different eye relief lengths work better in different situations. Consequently, you must assess your shooting style and your shooting needs to choose eye relief lengths.
Short or Normal Eye Relief Lengths
Most optical riflescopes are normal or short eye relief lengths. Typically, this measures from 3.5 to 4 inches. Short eye relief scopes offer some advantages to shooters.
- Short eye relief scopes offer a wider field of view.
- At higher magnifications, short eye relief riflescopes make it easier to find and track moving targets because of the wider field of view
- Short eye relief scopes mount further back and closer to the shooter than long eye relief scopes. The further back on the rifle the scope is mounted, the better the balance of the rifle.
- You almost always get crisper and sharper target images at high magnification on a short eye relief scope.
Hunters who routinely hunt shorter distances or in heavy cover benefit from a short eye relief scope. The wider field of view makes tracking game in heavy brush easier as they move. One thing to consider is the caliber of the rifle you shoot. The bigger calibers may cause issues with a short eye relief scope leaving you with a nasty reminder in the form of a scope ring bruise above your eye. Be aware of recoil when choosing eye relief on your scope.
Long Eye Relief Scopes
Some manufacturers do have longer eye relief scopes available in their product lines. Typically, these scopes feature an eye relief greater than 4.5 inches. A few riflescopes with an eye relief of six inches and more are currently available. Longer eye relief scopes are useful in some shooting situations such as:
- Long eye relief scopes are limited to smaller objective lenses. Usually, the largest objective lens available on long eye relief riflescopes is 40mm.
- The highest magnification normally found on long eye relief scopes is 8X.
- Long eye relief scopes allow mounting the scope further forward on the rifle action. This flexibility is especially useful on some surplus bolt action military rifles such as the Mosin Nagant that use stripper clips for loading.
- Extra distance helps prevent shooter’s eye, especially when shooting extremely large caliber rifles.
Anyone who shoots a very large or powerful caliber should consider a long eye relief scope. In most instances, the benefits outweigh the disadvantages and will bring you better and more accurate shooting.
Mounting Your Scope – Getting it Right
Setting your rifle and riflescope up for your normal type of shooting is the critical part of mounting a scope. I routinely see shooters at the range with their favorite hunting rifle and a new scope as they begin the process of mounting the scope. There are several mistakes that I regularly see that you should avoid.
- The Pre-mounted Scope – I see many shooters take out that new rifle and scope and immediately start putting rounds downrange on the target. Unfortunately, it is almost impossible to set your rifle scope up to the correct eye relief at home in your workshop. It would be best if you came to the range expecting that you will make the final adjustments to your scope mount at the range. Bring the correct tools and equipment for the job.
- Bench, Vise, or Off-Hand – Think about how you will be using your rifle. Not many of us are competitive target shooters who can have a steady bench rest from which to shoot. Most of us are hunters who face all the adversities of shooting at game when our positions are less than ideal. Most hunters take shots without the benefit of a rest. At best, we have a tree limb, a backpack, or a shooting stick. Adjust your riflescope eye relief shooting from the same sorts of positions that you will face in the field.
- Follow the Manufacturer’s Recommendations – Every riflescope manufacturer includes mounting recommendations with their scopes. Scope ring manufacturers do the same. Follow the recommendations on mounting the scope rings and on torquing the mounting screws. Over torquing can damage the scope or cause it to operate incorrectly.
Far more scopes are damaged, and shooters experience many more problems because of bad scope mounting techniques than poor quality scopes. In general, even the least expensive riflescopes will provide useable service if mounted properly.
What’s the Deal with Unlimited Eye Relief?
You will find some optics advertising unlimited eye relief. Typically, these are not traditional riflescopes with lenses. Most rifle optics that advertise unlimited eye relief fall into one of these categories.
- Red Dot Scopes
- Reflex red dot scopes
- Holographic optics
- Digital rifle scopes
Each of these types of scopes relies on a different type of aiming technology. Red dots and reflex red dot sights typically don’t feature any magnification. Holographic sights may have some magnification and create the sight picture by projecting a reticle image in front of the shooter’s eye. Digital rifle scopes use electronic video technology to create the sight picture on a screen for the shooter rather than an image through a set of lenses.
What Other Problems Can a Wrong Eye Relief Cause
If you regularly shoot with an improperly placed riflescope, you can face other problems as well. If your normal shooting position puts your eye relief outside the parameters of the riflescope, you can experience some of these problems apart from the obvious black ring syndrome.
- Parallax distortions can occur if the eye relief positioning on your rifle is not correct. While this may not be noticeable on most rifles and riflescopes under normal shooting conditions, for competitive long-range shooters or hunters making exceptionally long shots, this problem may occur.
- You may have trouble with windage and elevation adjustments if the eye relief on your scope is wrong. The sight picture in a scope without proper eye relief tends to float or move in the scope lens. This floating sensation can make reading the graduations on the reticle difficult, if not impossible.
- As you try to adjust your shooting position to get the scope in the proper position, you will inevitably either miss a shot opportunity or miss because of the constant movement and adjustments.
If you must move your head when you bring your rifle to bear to get the proper sight picture in your scope, more than likely, your scope is mounted wrong. A wrong shooting position for your scope leads to frustration, missed shots, and a loss of confidence in your rifle and scope combination.
A Step by Step Eye Relief Adjustment
Following a few simple instructions can have the eye relief on your favorite scope set perfectly.
Step 1: Gather Your Tools and Equipment
You will need a good set of screwdrivers or Torx wrenches, depending on the style of screw on your scope rings. Some ring manufacturers suggest a small tube of blue thread locker. I always treat the screw threads on my scope mounts and rings with thread locker on my final mount.
Step 2: Set Up Your Rifle the Way You Shoot
If your normal shooting is done off-hand while stalking your game, you should set the eye relief on your scope while using that rifle position. Most hunters take relatively rapid shots. Raise and lower your rifle several times and bring it into your normal shooting position. Your scope eye relief should be set to this position.
Step 3: Adjust the Scope in the Rings
Loosen the rings on your scope mount just enough to allow the scope to slide forward and backward. Bring your rifle up to your normal shooting position. Then carefully slide the scope forward or backward until you have the best image possible in your scope.
Step 4: Tighten the Scope Rings
Carefully tighten the scope ring screws without moving the scope. Follow the manufacturer’s recommendations on torquing the screws to the proper setting. Adding a drop of blue thread locker will prevent the ring screws from vibrating loose from the rifle recoil.
Step 5: Check your Scopes Image Across the Range of Magnification
With the scope ring screws properly torqued, test the scope across its entire range of magnification. There may be some slight changes in the image, but if you are in the range of eye relief of the scope, you should not notice any significant changes in the sight picture.
Don’t Set and Forget
Mounting your scope is not a set-and-forget operation. Every time you re-zero your rifle, you should check the eye relief position of the scope. Recoil, time, and accidents can all contribute to scope creep that can change the position of the scope on the rifle.
It only takes a few minutes to reset the eye relief position of your scope if it has changed. Remember, you change as well, and this can affect your scope position. Different eyeglass prescriptions and age all make a difference in mounting a scope on your favorite rifle.
Eye Relief – The Most Forgotten Part of Scope Mounting
Unfortunately, many shooters ignore the important step of setting eye relief. Ignoring this step often results in complaints about the quality of the scope and poor performance in the field. A bit of time ensuring that the scope is the correct distance from your eye makes all the difference in the world.


![Unfamiliar Landscape – Preppers vs Survivalists [PODCAST] Unfamiliar Landscape – Preppers vs Survivalists [PODCAST]](https://survivalcove.com/wp-content/uploads/2021/11/ogtx-podcast-banner-370x297.jpg)


