Activated charcoal has kind of become the pumpkin spice of the preparedness world. But instead of only seeing it in the fall – it’s 365 topic.
Activated charcoal is very useful for a variety of tasks, and what has recently caught my eye are the claims that it can be made at home. Being a huge DIYer, this project piqued my interest, and I began reading popular articles and watching videos on just how to do it.
There are several different recipes for making activated charcoal powder at home, but there was one recipe that I kept seeing over and over. This particular recipe seemed so simple that it didn’t sit right with me, even though I couldn’t put my finger on exactly what was bothering me about it.
So, for the first time on Survival Cache, I’m going to science it up a bit.
I’ll be going over:
- What activated charcoal is
- How activated charcoal is works
- How to use activated charcoal
- How to make activated charcoal at home
- How to test homemade activated charcoal

What is Activated Charcoal?
Regular charcoal works great as a filter because it has a ton of tiny pores in it. These pores can capture debris and other molecules. This is called adsorption (not absorption).
However, regular charcoal’s protentional is limited because not all of the pores on its surface are completely open.
Activated charcoal, on the other hand, is nothing more than regular charcoal that has gone through a particular process to open as many of those pores as possible, thus making it a lot more effective.
How Activated Charcoal Works
To make activated charcoal, charcoal made from hardwood or coconut shells is subjected to high temperatures, well over 1,000 degrees, sometimes in the presence of a gas or steam. This is, of course, done on a large scale.
To better illustrate this, think of charcoal as a mesh filter with a ton of tiny holes in it.
In charcoal, some of those holes are covered with tar and other debris. If you cover half the holes on the mesh filter and try to run something through it, the filter will still work, but not as well.
When the charcoal is subjected to the activation process, the stuff that is covering up some of those holes is removed and it can now be called activated carbon which has a lot more surface area. If you remove what is covering half of the holes in the mesh filter, it will work much better.
Activated Charcoal Uses
As I mentioned earlier, activated charcoal has a lot of different uses due to its adsorption characteristics.
It is used as a medium for water filters and air filters. It has been added to toothpastes as a whitening agent and soaps for a deeper, more natural cleaning agent due to its increased surface area.
Activated charcoal is also consumed to aid with poison control, and it may have some other health benefits as well.
Making Homemade Activated Charcoal

The basic formula is to use crushed charcoal, mix it into a solution of water and lemon juice, strain it, and dry it out.
Seems pretty simple and straightforward, so let’s give it a go!
Here are supplies I used for tying to make activated charcoal:
- Coffee filter
- Stainless steel mesh filter
- Hardwood charcoal
- Aluminum foil
- Distilled water
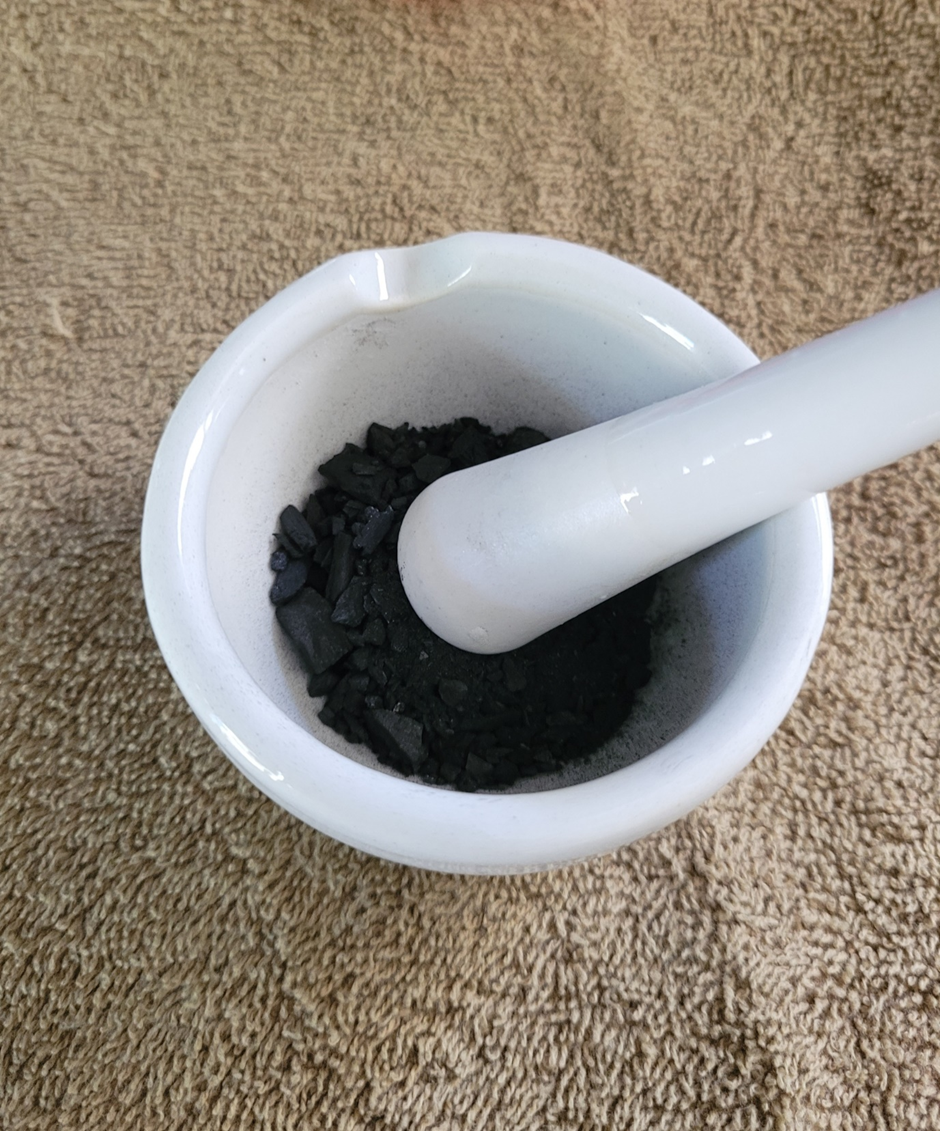
- Mortar and pestle
- Hammer
- Oven
- Cookie sheet
- Lemon juice
- Kitchen scale
I needed to prepare the hardwood charcoal before “activating” it. I used premium hardwood charcoal; it’s very important to use charcoal that has zero additives. You definitely don’t want to use charcoal that is laced with chemicals that help to ignite it, like lighter fluid.
If you are able to make your own charcoal, then by all means do so. You get charcoal by burning wood, fibrous plant material, or a coconut shell. But for me and this project, it was going to be easier to go ahead and just purchase some. I picked up some of this lump charcoal by Masterbuilt that is made from 100% premium hardwood.

To prepare the lump charcoal, I needed to get it smaller. This part of the preparation doesn’t require a degree in rocket science, and it will help you to get some of your anger out!
The first step was to take the lump charcoal outdoors, place it into a container (plastic bag) and smash it senseless with a hammer.

I doubled up on the amount of charcoal I thought I needed because, while some of it will be used to make “activated charcoal,” some of it will be left “nonactivated” to act as the control sample.
After collecting the pulverized charcoal, I brought it inside and used a pestle and mortar to grind it up further. I did this so its size matched that of the activated charcoal I bought.
Instead of a pestle and mortar, I have heard of some people who use a coffee grinder for this step. I do have a small manual coffee grinder but I didn’t particularly want to subject it to a bunch of charcoal.
Once the regular charcoal was to the size I wanted, I sifted it through a mesh screen until I had roughly 8 ounces.

I used a simple kitchen scale throughout this whole process to weigh up my charcoal, distilled water, and lemon juice.
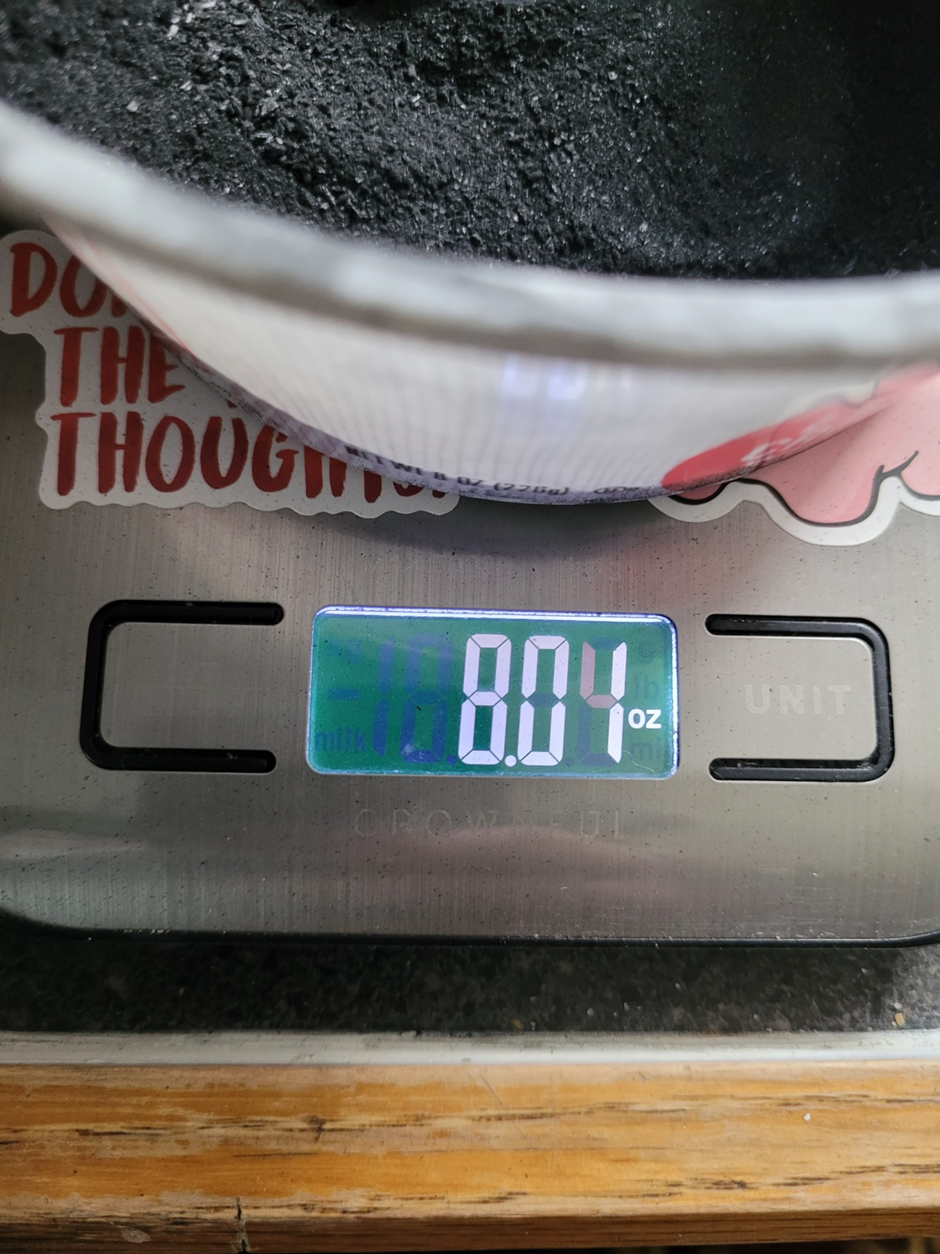
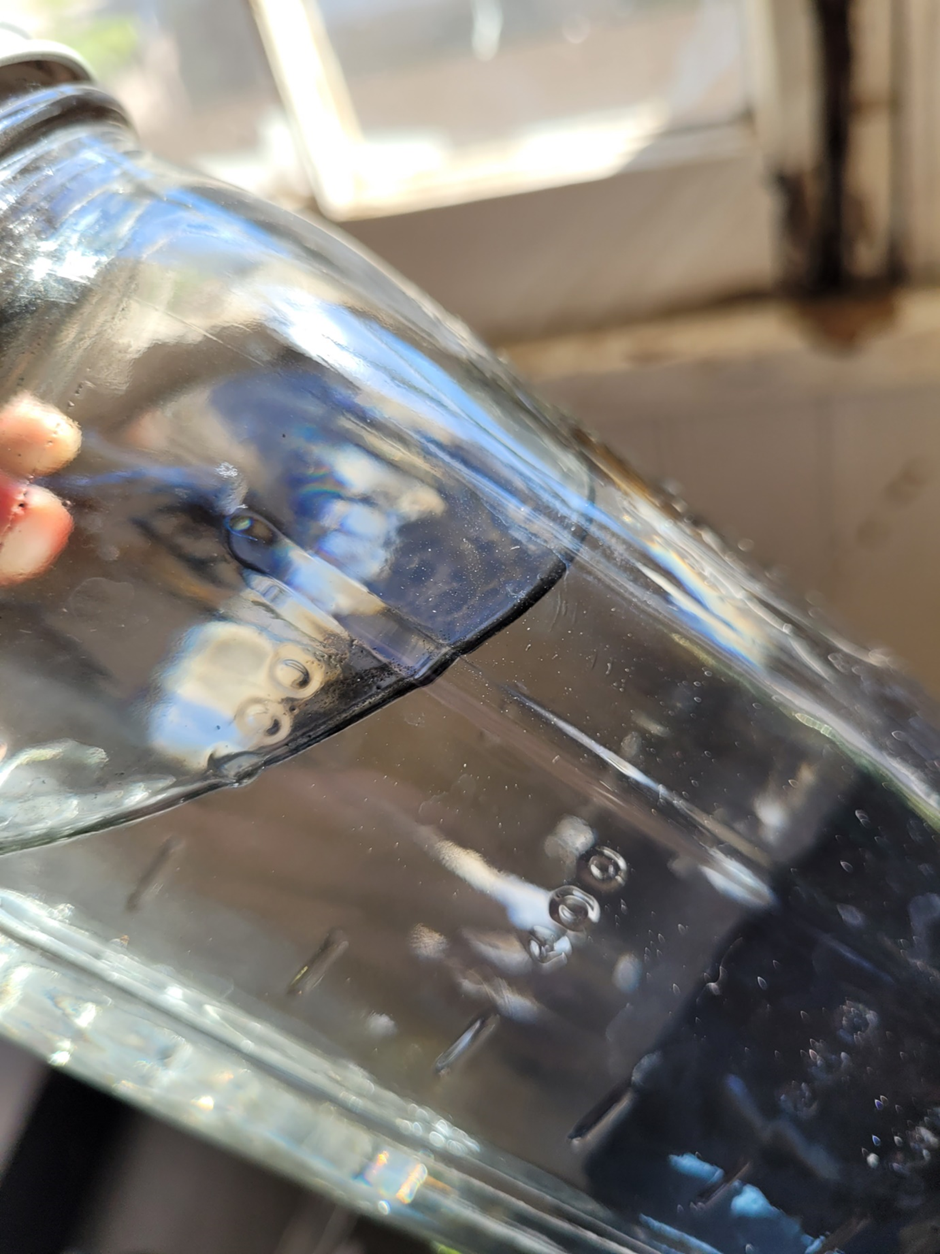
The recipe then calls for 8 ounces of charcoal to be added to a solution of 1 ounce of lemon juice to 3 ounces of distilled water.
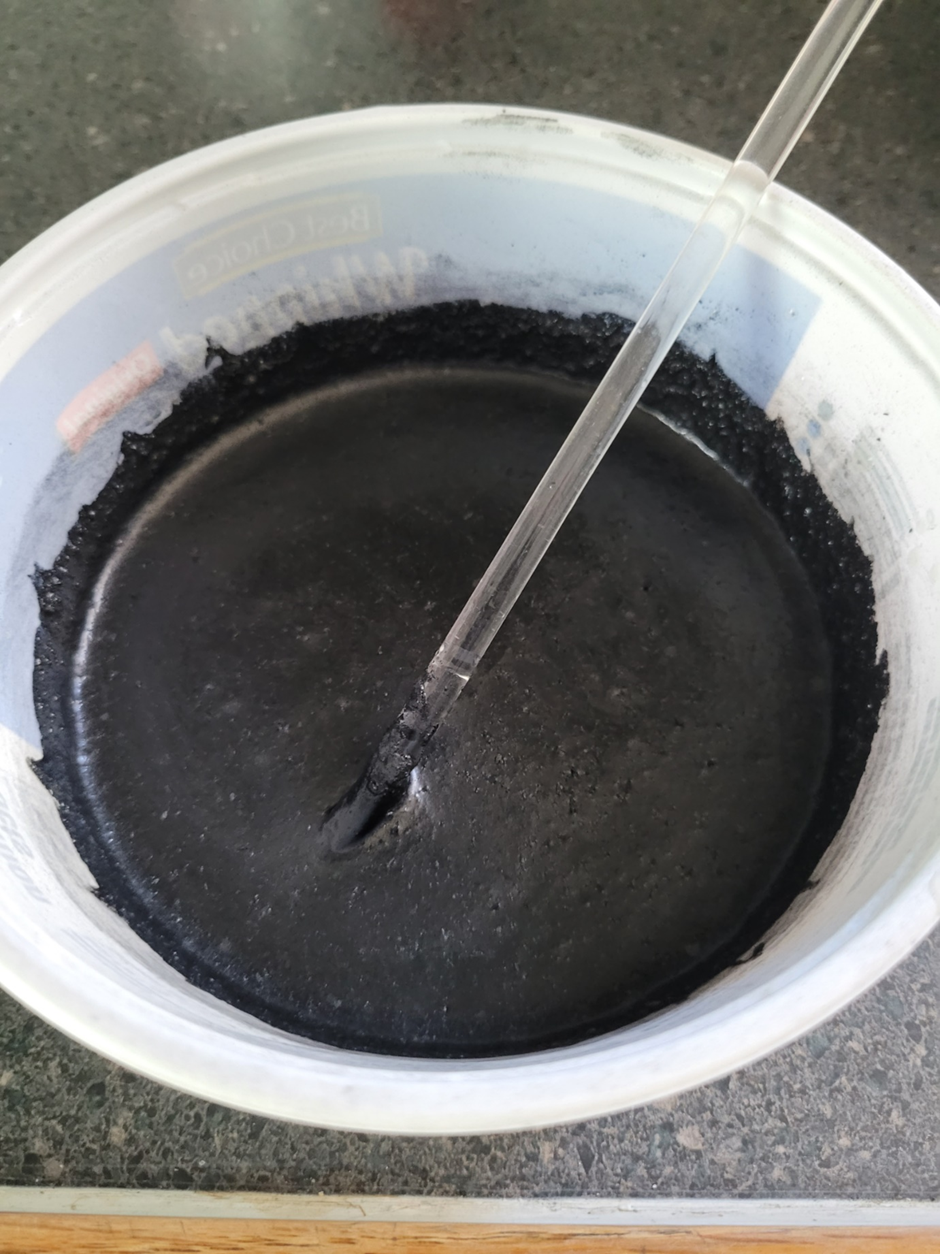
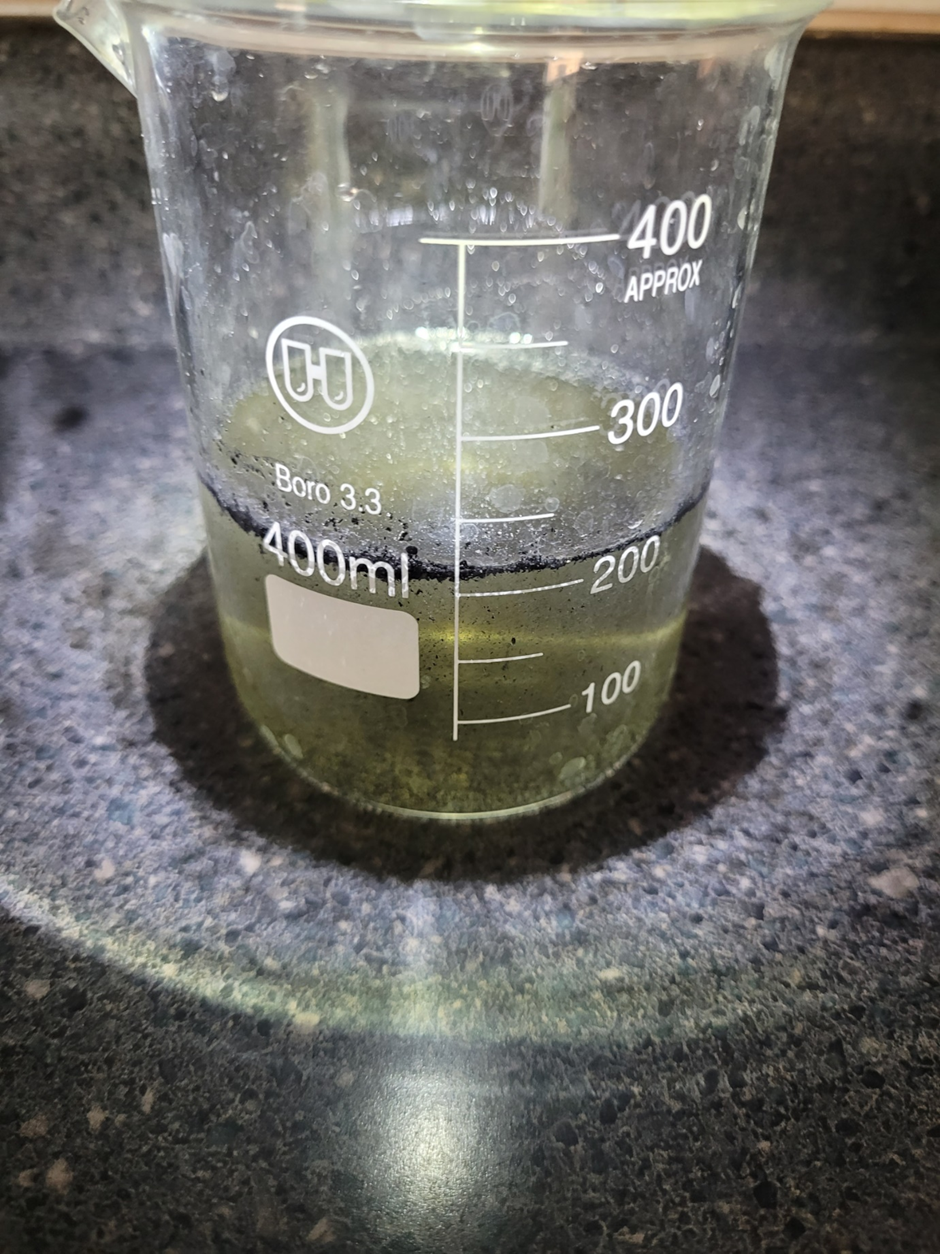
I mixed all this together, covered it with a tight-fitting lid, and let it set for 24 hours. The image below shows what it looked like after 24 hours.
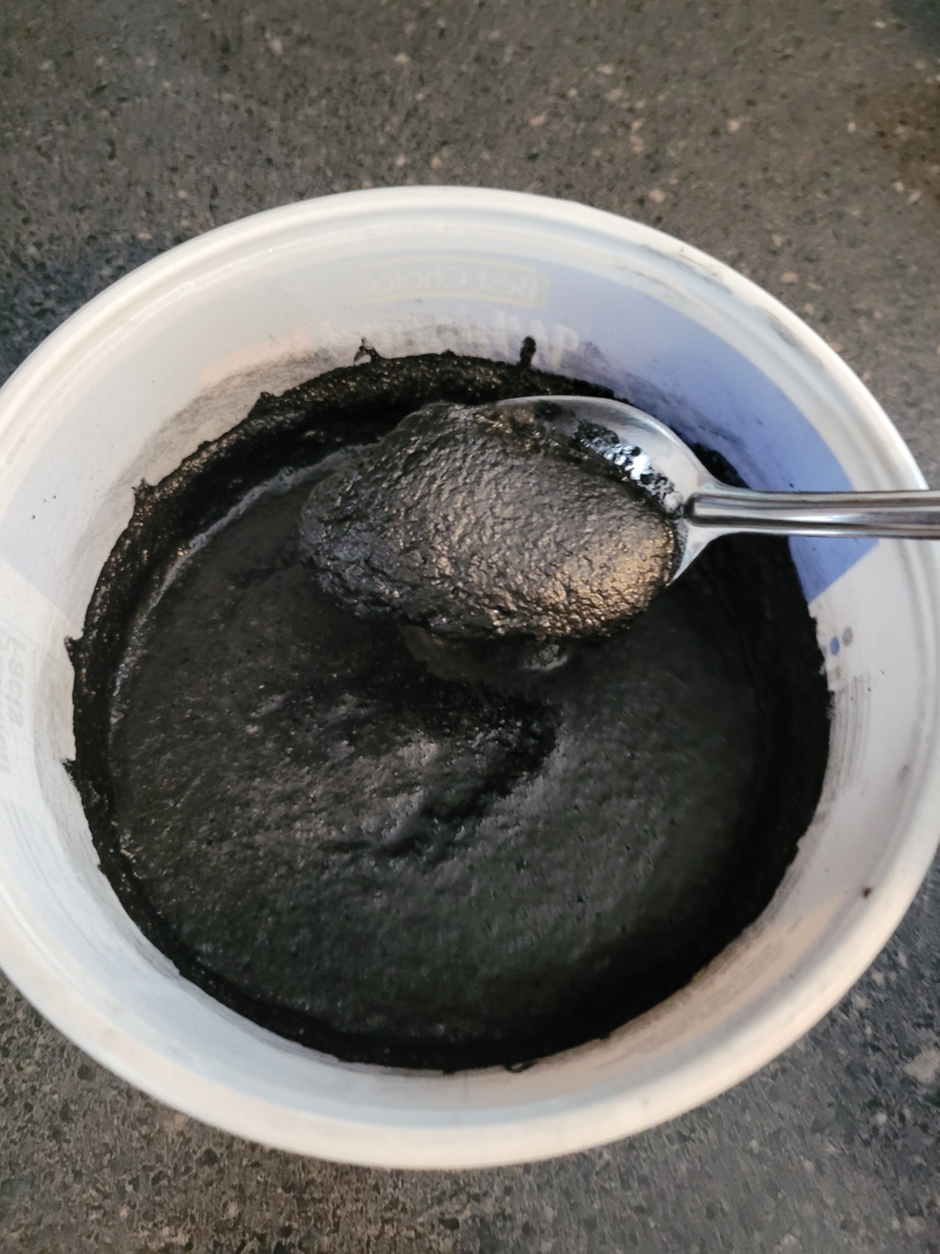
After all this was mixed together, I put the black soupy goop (that’s an important scientific term to know) into a stainless steel fine mesh coffee filter lined with a paper coffee filter. The paper filter wasn’t necessary, but I figured it would make it easier to get the mixture out of the screened filter. Some people will also use a stainless steel bowl or a metal pot for this recipe.
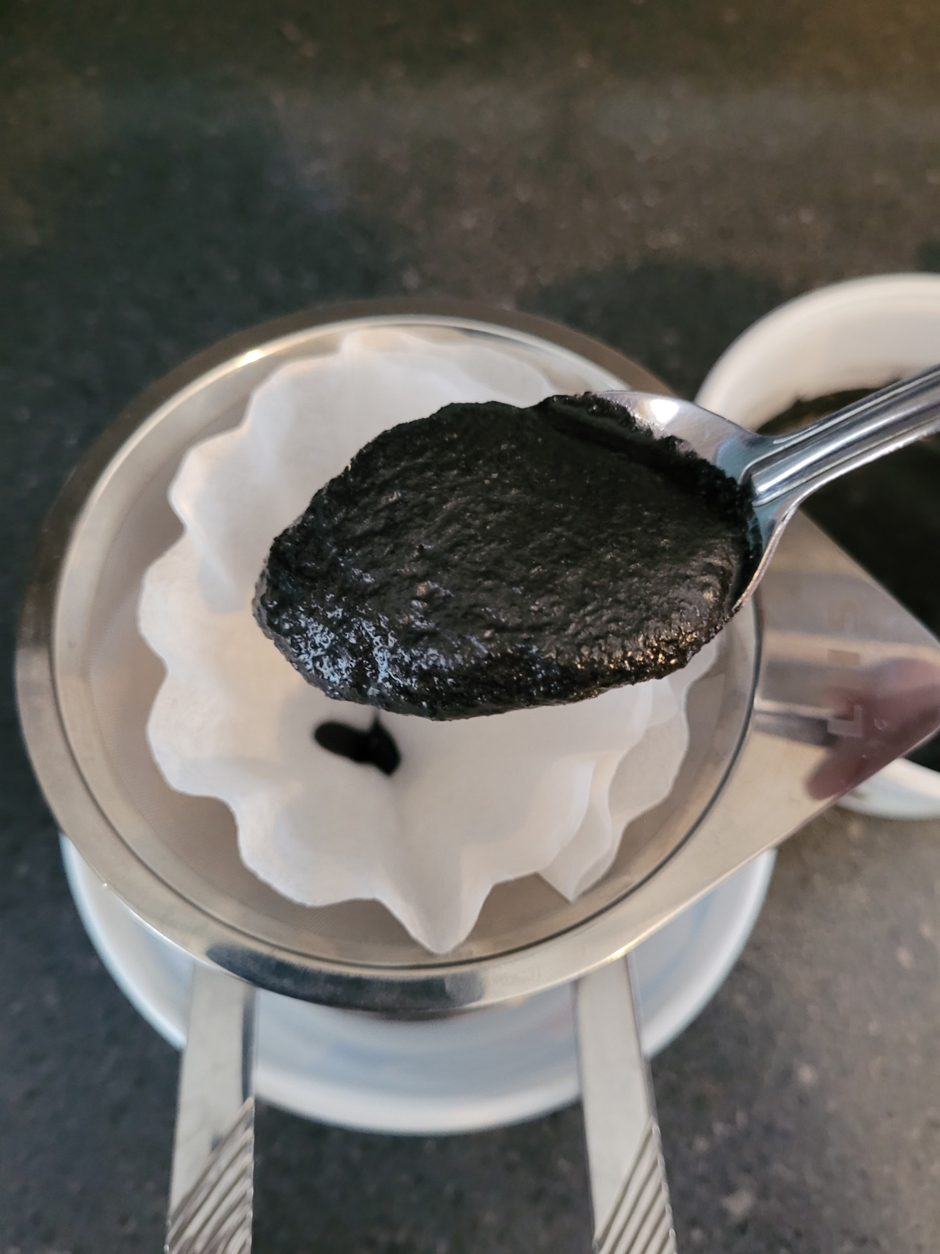
This allowed me to separate most of the liquid from the solids.
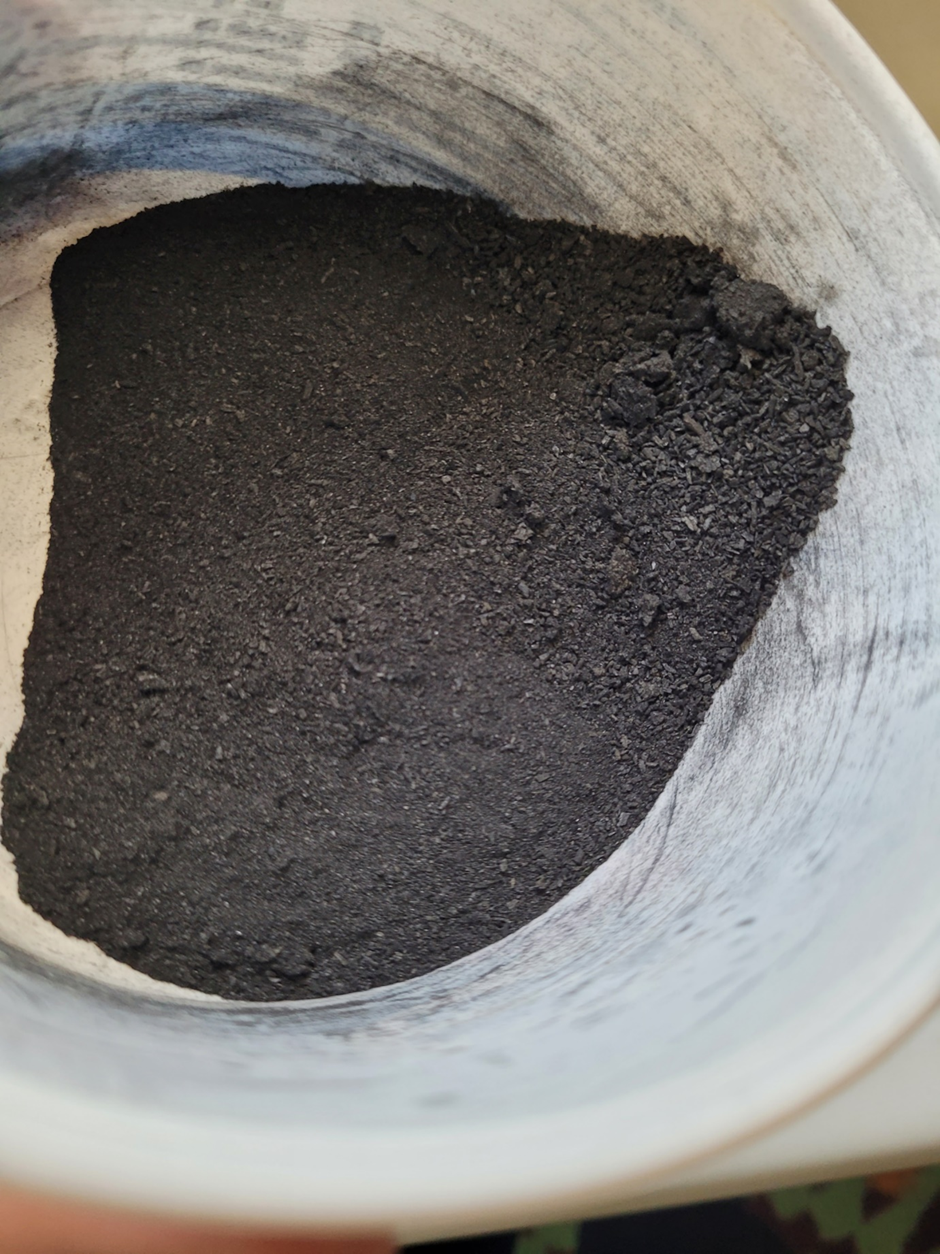
After draining it, the charcoal was still pretty wet so it needed to be dried further. I spread the charcoal paste onto a cookie sheet lined with aluminum foil.
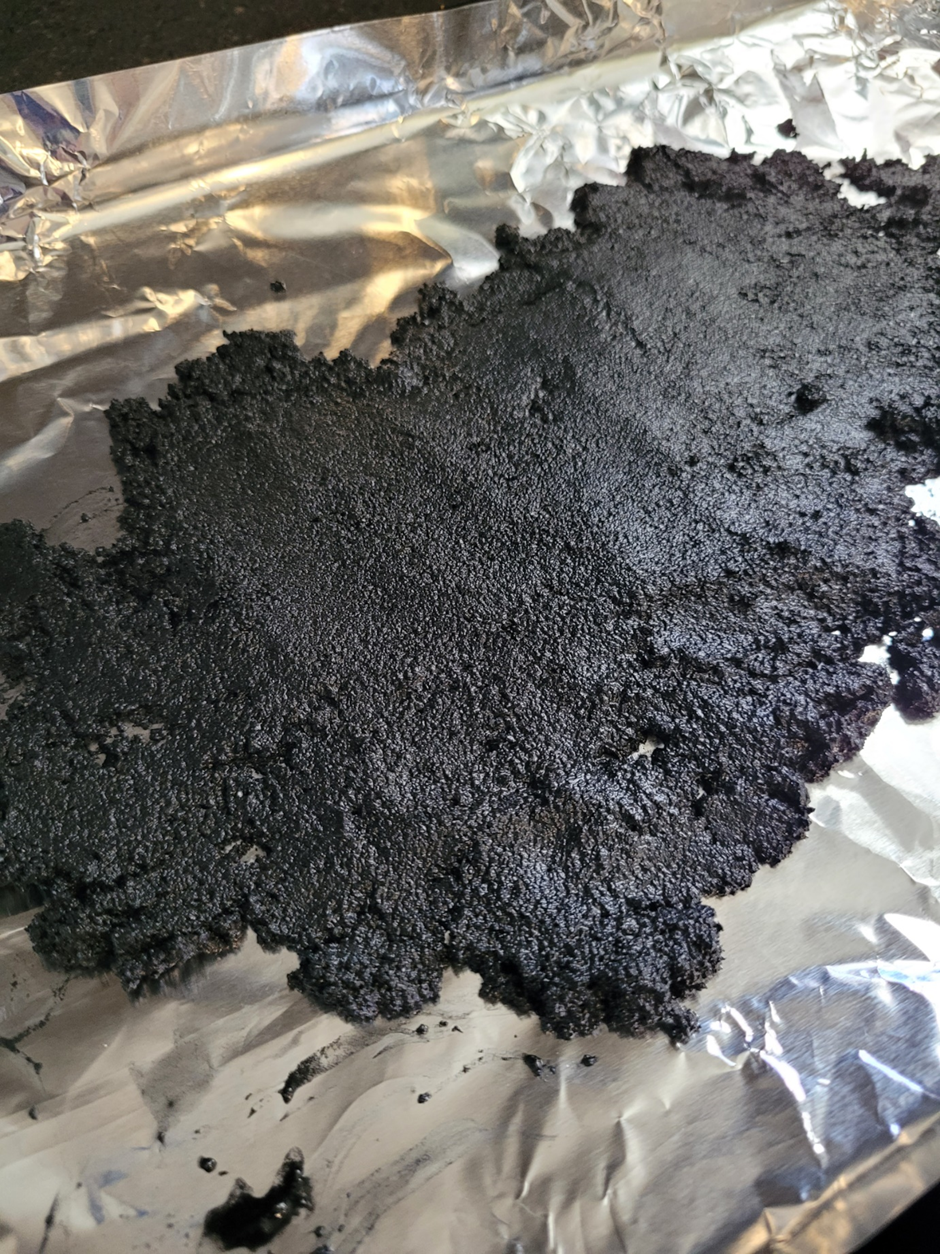
I then placed the cookie sheet into an oven that was preheated to 250 degrees, which is a relatively low temperature when comparing it to the very high temperatures that commercial activated charcoal is subjected to.
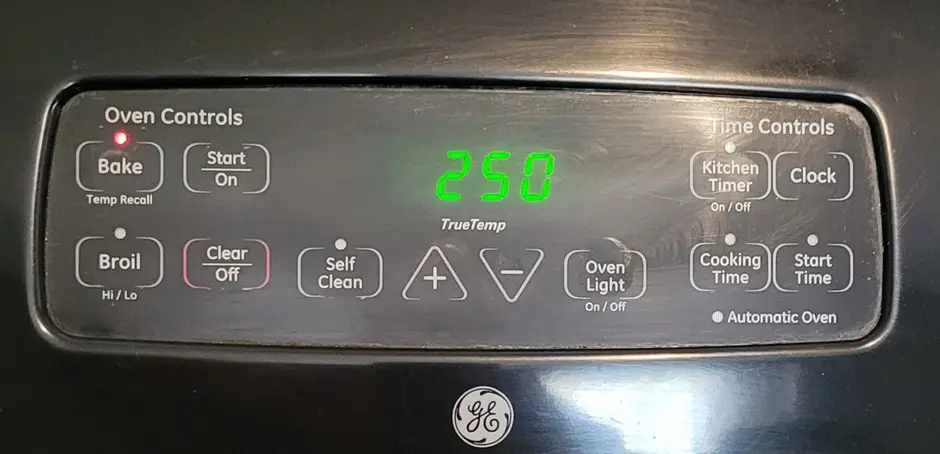
It only took about an hour for the charcoal to dry out but it may take longer depending on your appliance. I used a spoon to sift through the charcoal powder to make sure there weren’t any wet spots and once I was satisfied that it was completely dry, I used a funnel to transfer the charcoal powder into another container.
And voila, I had activated charcoal!…or did I?
Testing Homemade Activated Charcoal
Considering how activated charcoal is made commercially, I was very curious about this homemade charcoal method that I’ve heard a lot about. Time to put my white lab coat on and set up my simple experiment!
To test it out, my plan was to use different types of charcoal and see which one did the best job of adsorbing a solution of iodine in distilled water.
Using iodine should provide a good visual indicator as to if the charcoal is doing its job.
Here are the supplies I will be using:
- 2% iodine
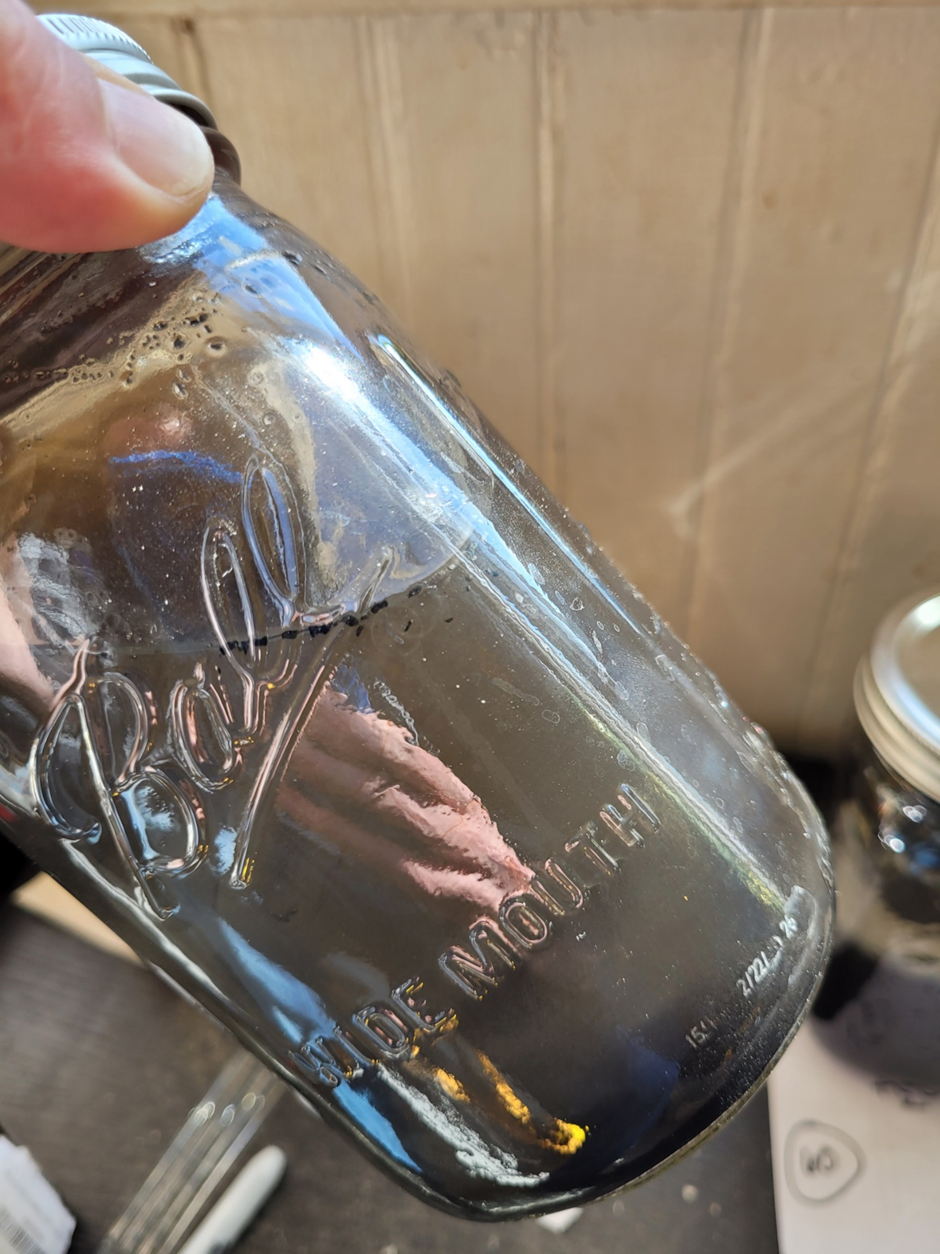
- 32 ounce Ball Canning Jars
- Distilled water
- Plain charcoal
- Homemade activated carbon
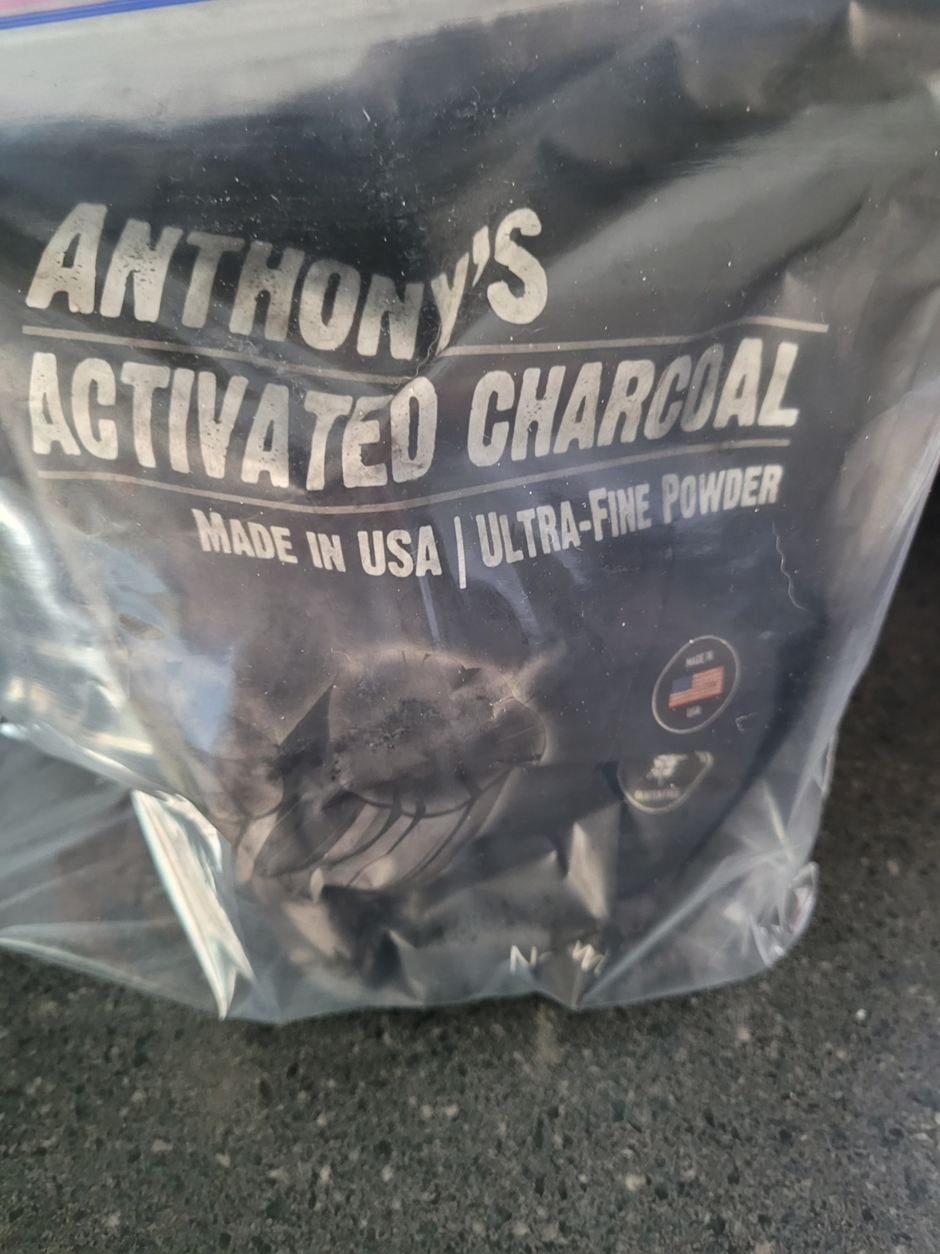
- Anthony’s Activated Charcoal
I set up four 32 ounce Ball Canning Jars. Then I scooped out roughly a tablespoon of regular charcoal, homemade activated charcoal, and pre bought activated charcoal and placed each of them into their own jar.
The pre-bought activated charcoal I got was Anthony’s Activated Charcoal, which is made in the USA. You can easily buy activated charcoal online and at some stores.
I had to put the activated charcoal into a resealable bag because the powdered charcoal was so fine it was getting everywhere. I was cleaning up black powder for quite some time after setting up this experiment.
Before you buy it, make sure you have a plan to store activated charcoal in a sealable storage container.
Then I poured three cups of distilled water and 20 drops of iodine into each jar.

The purpose of all this, is to look for a color change. Activated charcoal should adsorb some of the iodine, making the solution lighter in appearance.
This is why I set up a fourth jar containing just water and iodine. This jar will be my color guide by which I will compare the other three jars.
I mixed up all of the jars and let them sit for 24 hours before checking my results.
After 24 hours the solids had mostly settled, and the liquid in all three of the jars containing charcoal looked relatively clear. There was a slight grayish/bluish/blackish tint to the solution which I think was just from the charcoal itself.
This was the one mistake I made in this experiment. I should have set up a jar with just distilled water and charcoal so I knew what it looked like without the iodine solution. Live and learn, I guess.
Since the solution was mostly clear, this told me that the charcoal in each jar had adsorbed the iodine.
From this point, I continued to add ten drops of iodine to each charcoal containing jar, stirred, and allowed to settle. During this time I did not wait 24 hours, but just long enough for the solids to settle so that I could see if there was a color change.
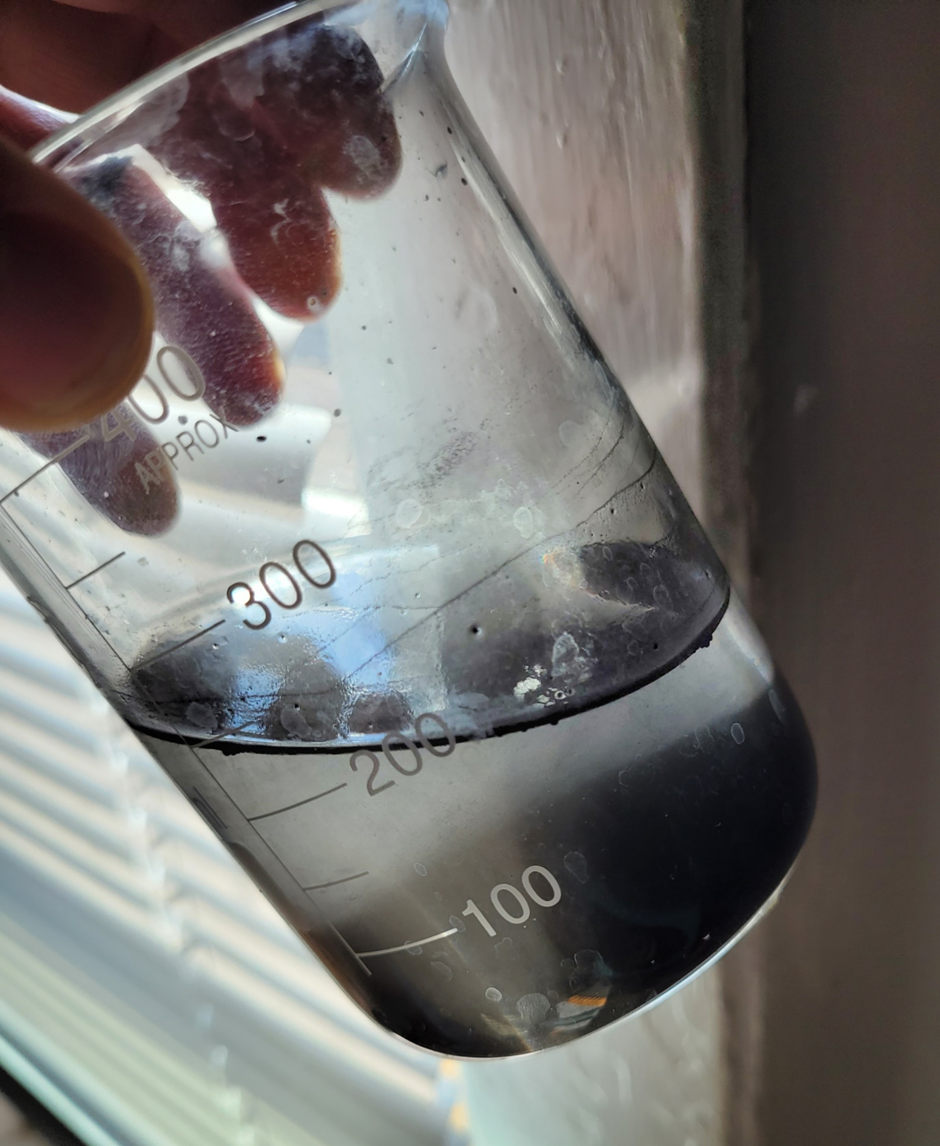
Eventually, one of the jars did show a color change. The jar containing the homemade charcoal was the first one to turn a yellowish color, which indicated it had stopped adsorbing iodine. It turned this color after 70 drops.
Below is a picture of the pre-bought activated charcoal with 70 drops of iodine in it. As you can hopefully see, the solution is pretty clear.
This means that the homemade activated charcoal is not as good as the pre-bought activated charcoal.
Interestingly, the canning jar containing the charcoal that hadn’t been exposed to the lemon juice, looked just as clear as the picture above of Anthony’s Activated charcoal.
Since I had everything set up, I figured I might as well continue the experiment with the non activated charcoal and Anthony’s activated charcoal.
Eventually, the non-activated charcoal’s color turned at 150 drops of iodine, and Anthony’s Activated Charcoal’s color turned at 250.
Round Two
I did the experiment again to see if the results were repeatable. The only thing I did different was scale everything down. I used less distilled water and charcoal powder.
I tested the homemade activated charcoal first and it took 5 drops of iodine before the solution changed color.
Then I tested the plain charcoal, and it took 10 drops before the solution changed color.
Lastly, I tested Anthony’s Activated Charcoal, and it took 20+ drops without changing color.
I didn’t keeping adding iodine to Anthony’s Activated Charcoal until the solution changed color because at 20 drops, it already showed it was better than the other two charcoals.
Results and Conclusions
Below is a quick rundown of my findings:
Results
Here are the results from the main experiment at a quick glance:
- Homemade activated charcoal adsorbed 70 drops of iodine.
- Plain charcoal adsorbed 150 drops.
- Anthony’s Activated Charcoal adsorbed 250+ drops.
Conclusion
Based on my two experiments, I feel pretty confident in saying I don’t think you can make activated charcoal by using this lemon juice recipe.
The lemon juice and low temperatures don’t appear to induce the activation process.
The homemade “activated charcoal” adsorbed less iodine than Anthony’s Activated Charcoal and less than the non-activated charcoal.
Final Thoughts
I went into this experiment figuring that the homemade activated charcoal probably wasn’t going to be as good as commercially manufactured activated charcoal.
But I was quite surprised to find out that it was even less effective than the charcoal that hadn’t gone through the “activating” process.
From what I found out, this lemon juice recipe does not produce activated charcoal, and plain charcoal appears to be more effective than what this recipe claims to produce.
While I showed that this recipe does not work, I don’t have an answer as to why. My only assumption as to why the “activated charcoal” was less effective is that the large particles in lemon juice might be clogging up the pores in the surface of the carbon. But this is just an assumption.
I was really curious about this recipe because it seemed too good to be true, and unfortunately, that seems to be the case.
I have always told people that they need to conduct their own research into topics and not take everything at face value. You can’t always trust information just because it’s popular and many people are saying it’s true.
Now that I have the results from this experiment, I find myself a bit annoyed and frustrated that so many people are promoting this method – especially since activated charcoal is used for health matters like water filters, drinking water, air filters, charcoal masks, gas mask, clay charcoal facial masque, and poison control.
When you are looking into homemade recipes and DIY methods I urge you to look for sources that have some authority or at least test what they are making.
Otherwise, you may not only end up with something that doesn’t work as advertised, but it may be even more inferior than you think.
Thanks for reading and stay prepared.


