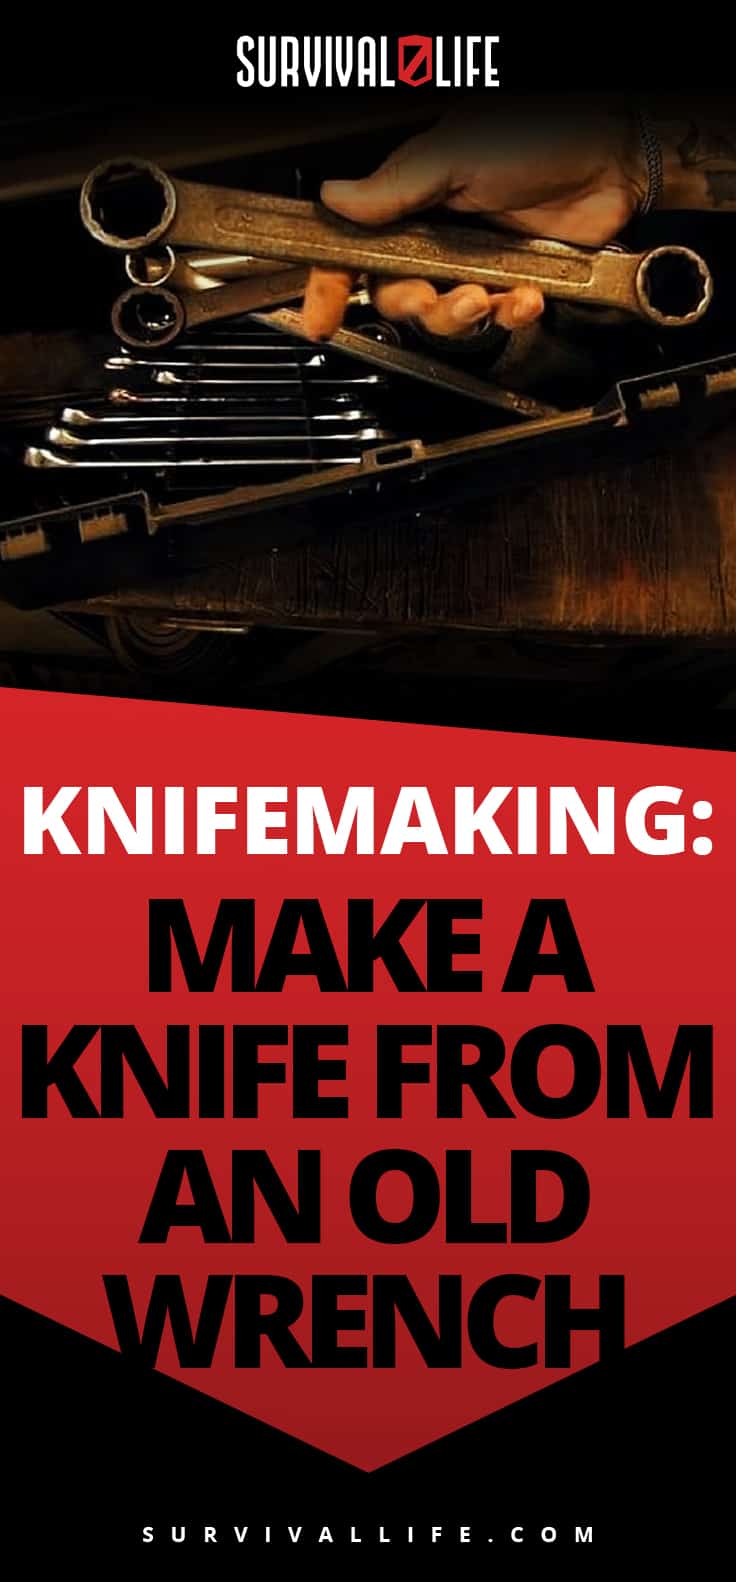
This knifemaking challenge will bring out the blacksmith in you and let you transform an old wrench into a knife. Learn how to be resourceful and make a survival knife from an old wrench here!
RELATED: The Complete Guide To Knife Steel Quality
Knife Making Skills | Transforming an Old Wrench into a Weapon
Knife Forging Supplies
Knifemaking is an ancient art. However, like many other skills, the skill of traditional knifemaking seems lost in our modern world of convenience.
You can include knifemaking in your essential primitive survival skills. Every knife, whether made from ancient Damascus steel or modern carbon steel, comes from a set of tools.
What You’ll Need:
- an old wrench
- a grinder
- blacksmithing forge
- a hammer
- knife sharpening tools of your choice
Reminder: A knife maker needs protective clothing. You don’t want to burn yourself with sparks from the belt grinder or get bits of steel in your eye. Use goggles, gloves, and even breathing protection so your DIY knifemaking is safe.
Step-by-Step Guidance for Knife Making
Step 1: Choosing the Knife Side of the Wrench

First, choose which end of the wrench you want for the knife blade and the handle. Use a portable grinder to straighten out the end you chose to be the knife blade.
Then, use the grinder to cut through the steel to shape the blade.
Step 2: Setting Up the Blacksmithing Forge
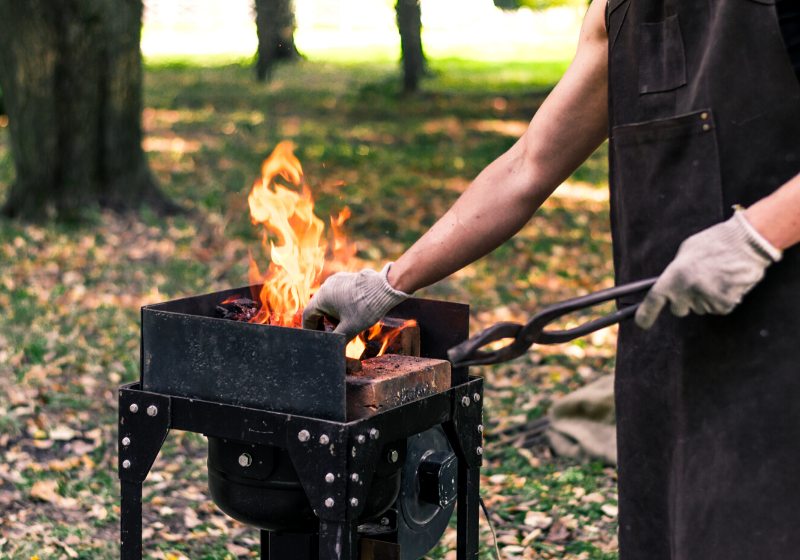
Meanwhile, you can create a simple blacksmithing forge at home. You can use an old grill or any solid platform where you can place a lump of burning coal.
Make sure to incorporate a blowing mechanism in your forge to make enough heat for forging steel.
Step 3: Putting the Wrench on the Hot Forge

After using the grinder on your knife, place the knife side of the wrench on the burning coals. Keep it there until it’s hot enough for the steel to be shaped.
You should be able to determine when the steel reaches forging temperature. At this point, the color of the steel should be red hot, or yellow.
Step 4: Pounding the Steel
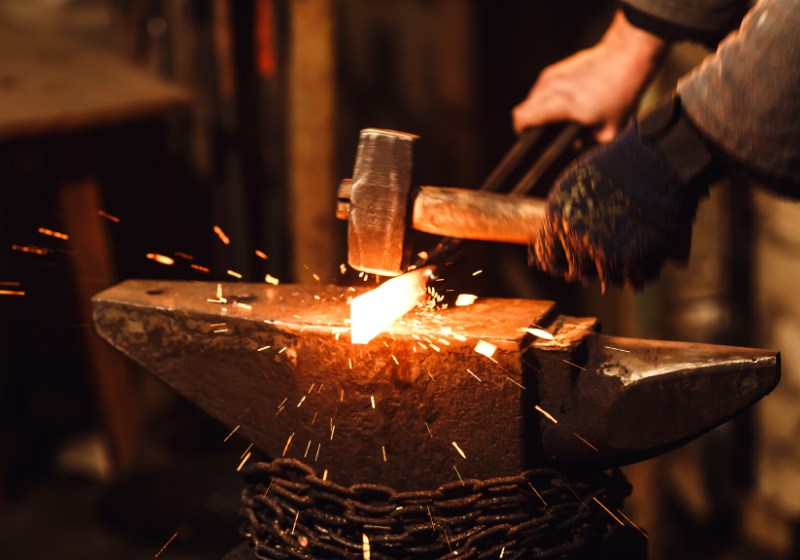
Once the steel gets really hot, place it on an anvil or any metal surface hard enough for support. Now, you can manipulate the steel.
Pound it with a hammer until you get the desired shape of the blade. The metal may move in strange ways when hit by a hammer. Take this as a test of your blacksmithing skills.
RELATED: How to Make a Survival Knife
Step 5: Making the Blade
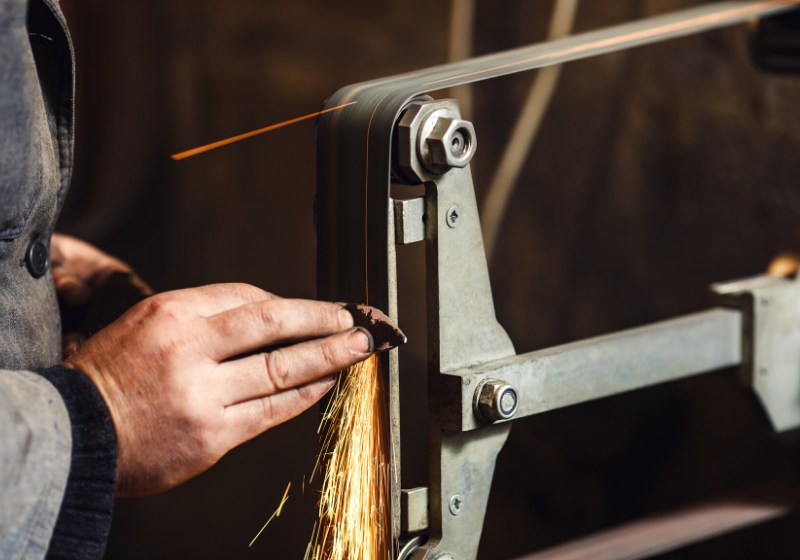
You can start making the blade as soon as you have achieved the form you want for your knife. A belt grinder or belt sander for metal is perfect for the job since it helps refine the blade.
The belt grinder also gives the blades an even, smooth stainless appearance.
Step 6: Heat Treating the Steel

After you’ve worked on the blade’s sharp edge, put it back on the hot forge. Wait for the color of the blade to turn into a glowing red. Remove the blade from the forge then douse it in engine oil to conclude the process.
Finally, try not to apply pressure on the blade and allow it to cool for an hour.
Step 7: Sharpening the Blade
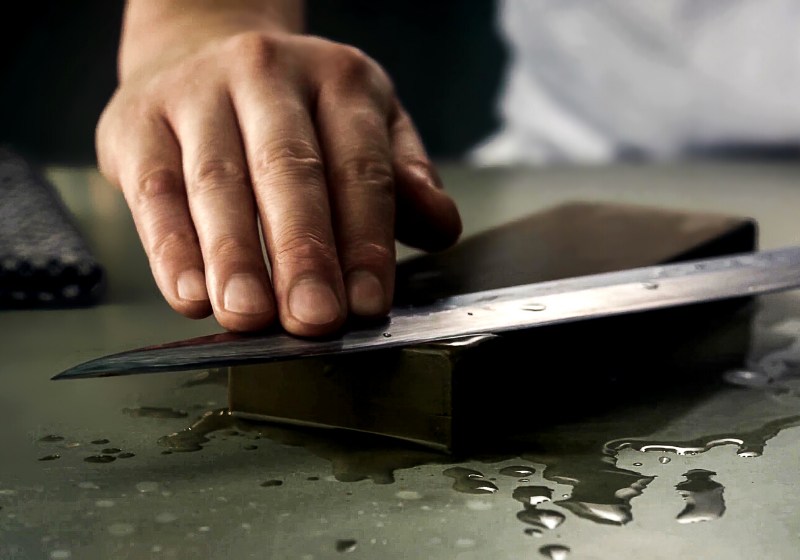
Once your blade has cooled down, give it a nice edge. So, keep your knife sharp by making sure you have a good knife sharpening tool.
Step 8: Appreciating Your Work
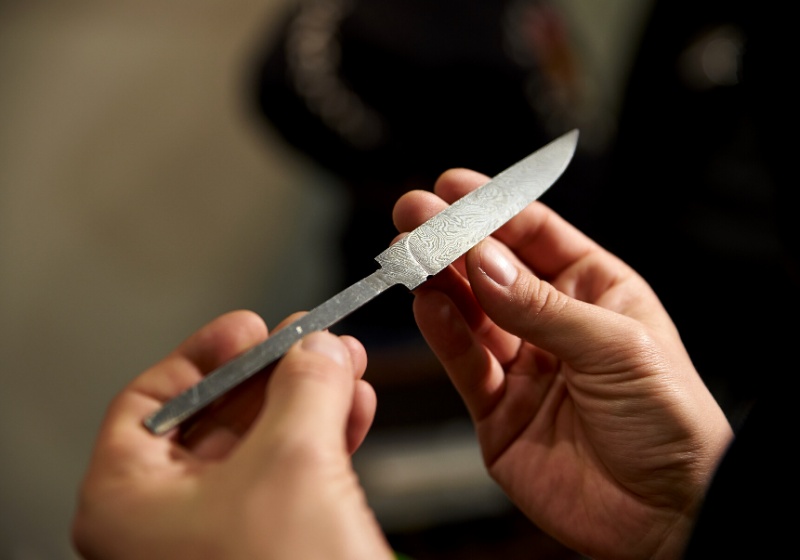
Last but not the least, appreciate your work! Only a few people make custom knives and can call themselves knife makers today. Soon, you can try making pocket knives, hunting knives, and other blades to test your skills.
Watch this video by Trollskyy on how to make a knife from an old wrench:
Knifemaking is a really great first blacksmithing project. We’re lucky to have modern tools at our disposal to simplify the work. Forging steel and blades must have been really difficult centuries ago.
Lucky for us, we have all the tools and means needed to transform any old wrench into a knife. Take advantage of this opportunity and continue improving your knifemaking and blacksmithing skills!
Have you ever turned an old wrench into a blade before? Tell us in the comments section below!
Up Next:
Calling all preppers, craftsmen, bushmasters, outdoorsmen and all-around skilled people, Survival Life needs YOU! Click here if you want to write for us.
Don’t forget to stay connected with us on Facebook, Twitter, Pinterest, and Instagram!
Editor’s Note: This article was originally published in January 2019, and has been updated for quality and relevancy.
